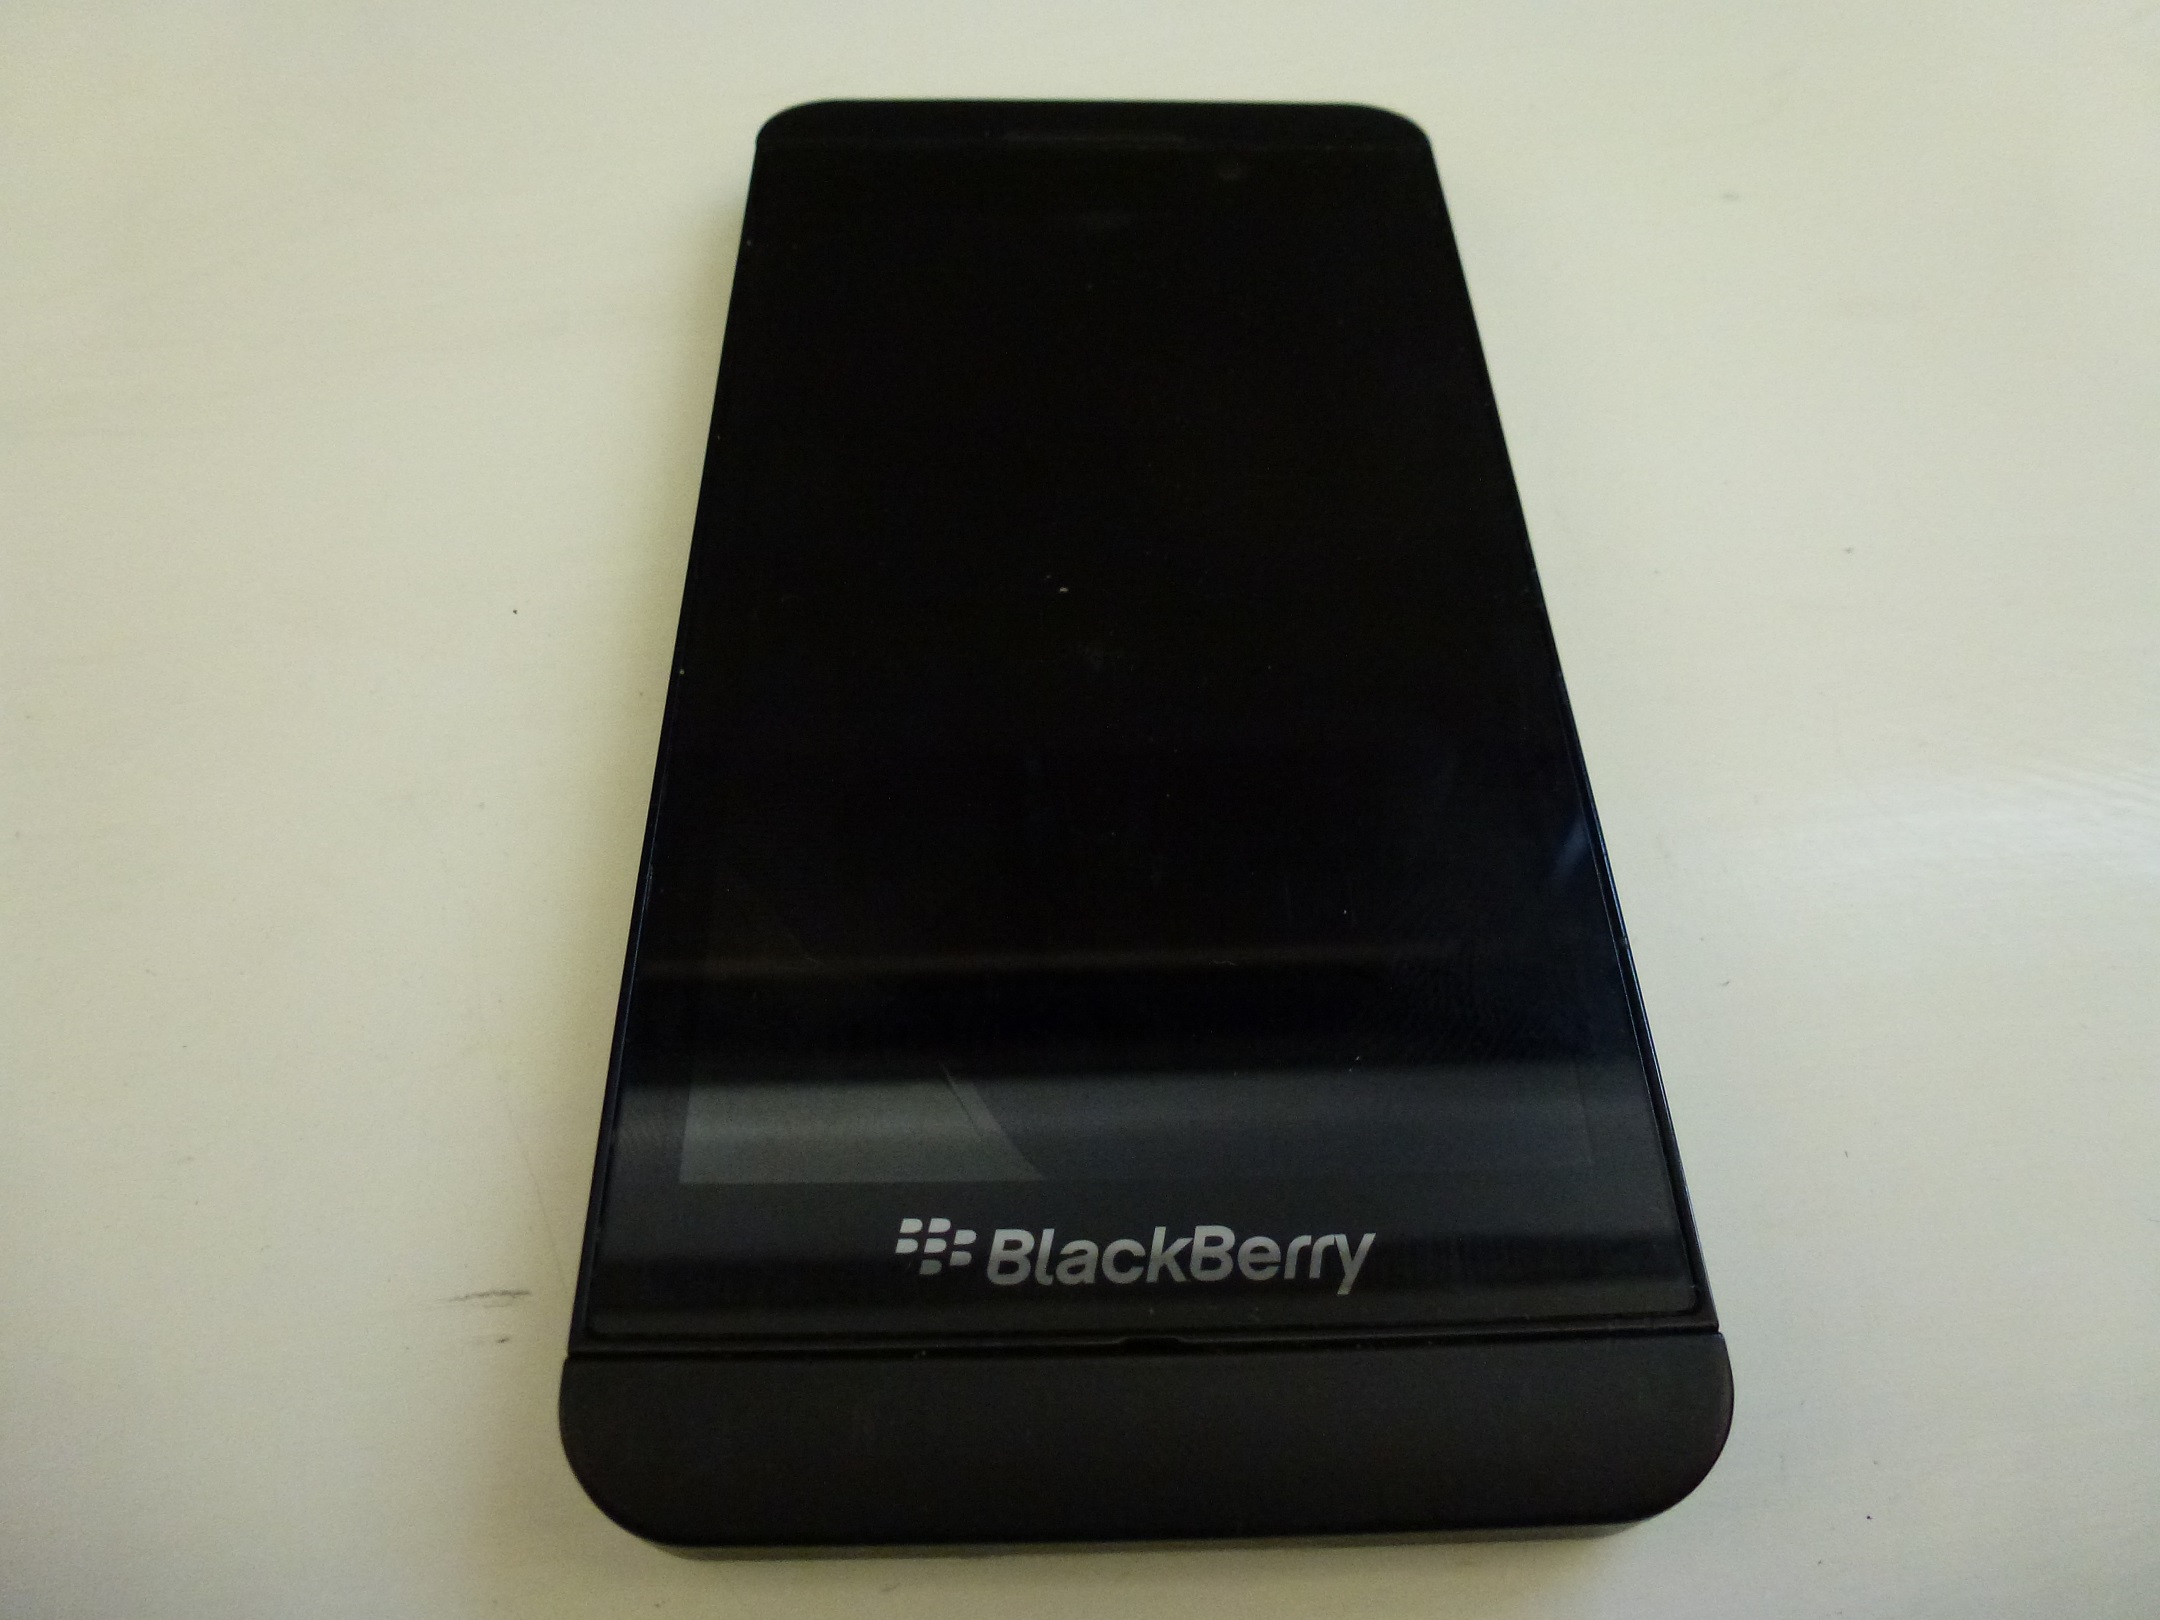
Chip off blackberry z10
Tear Down
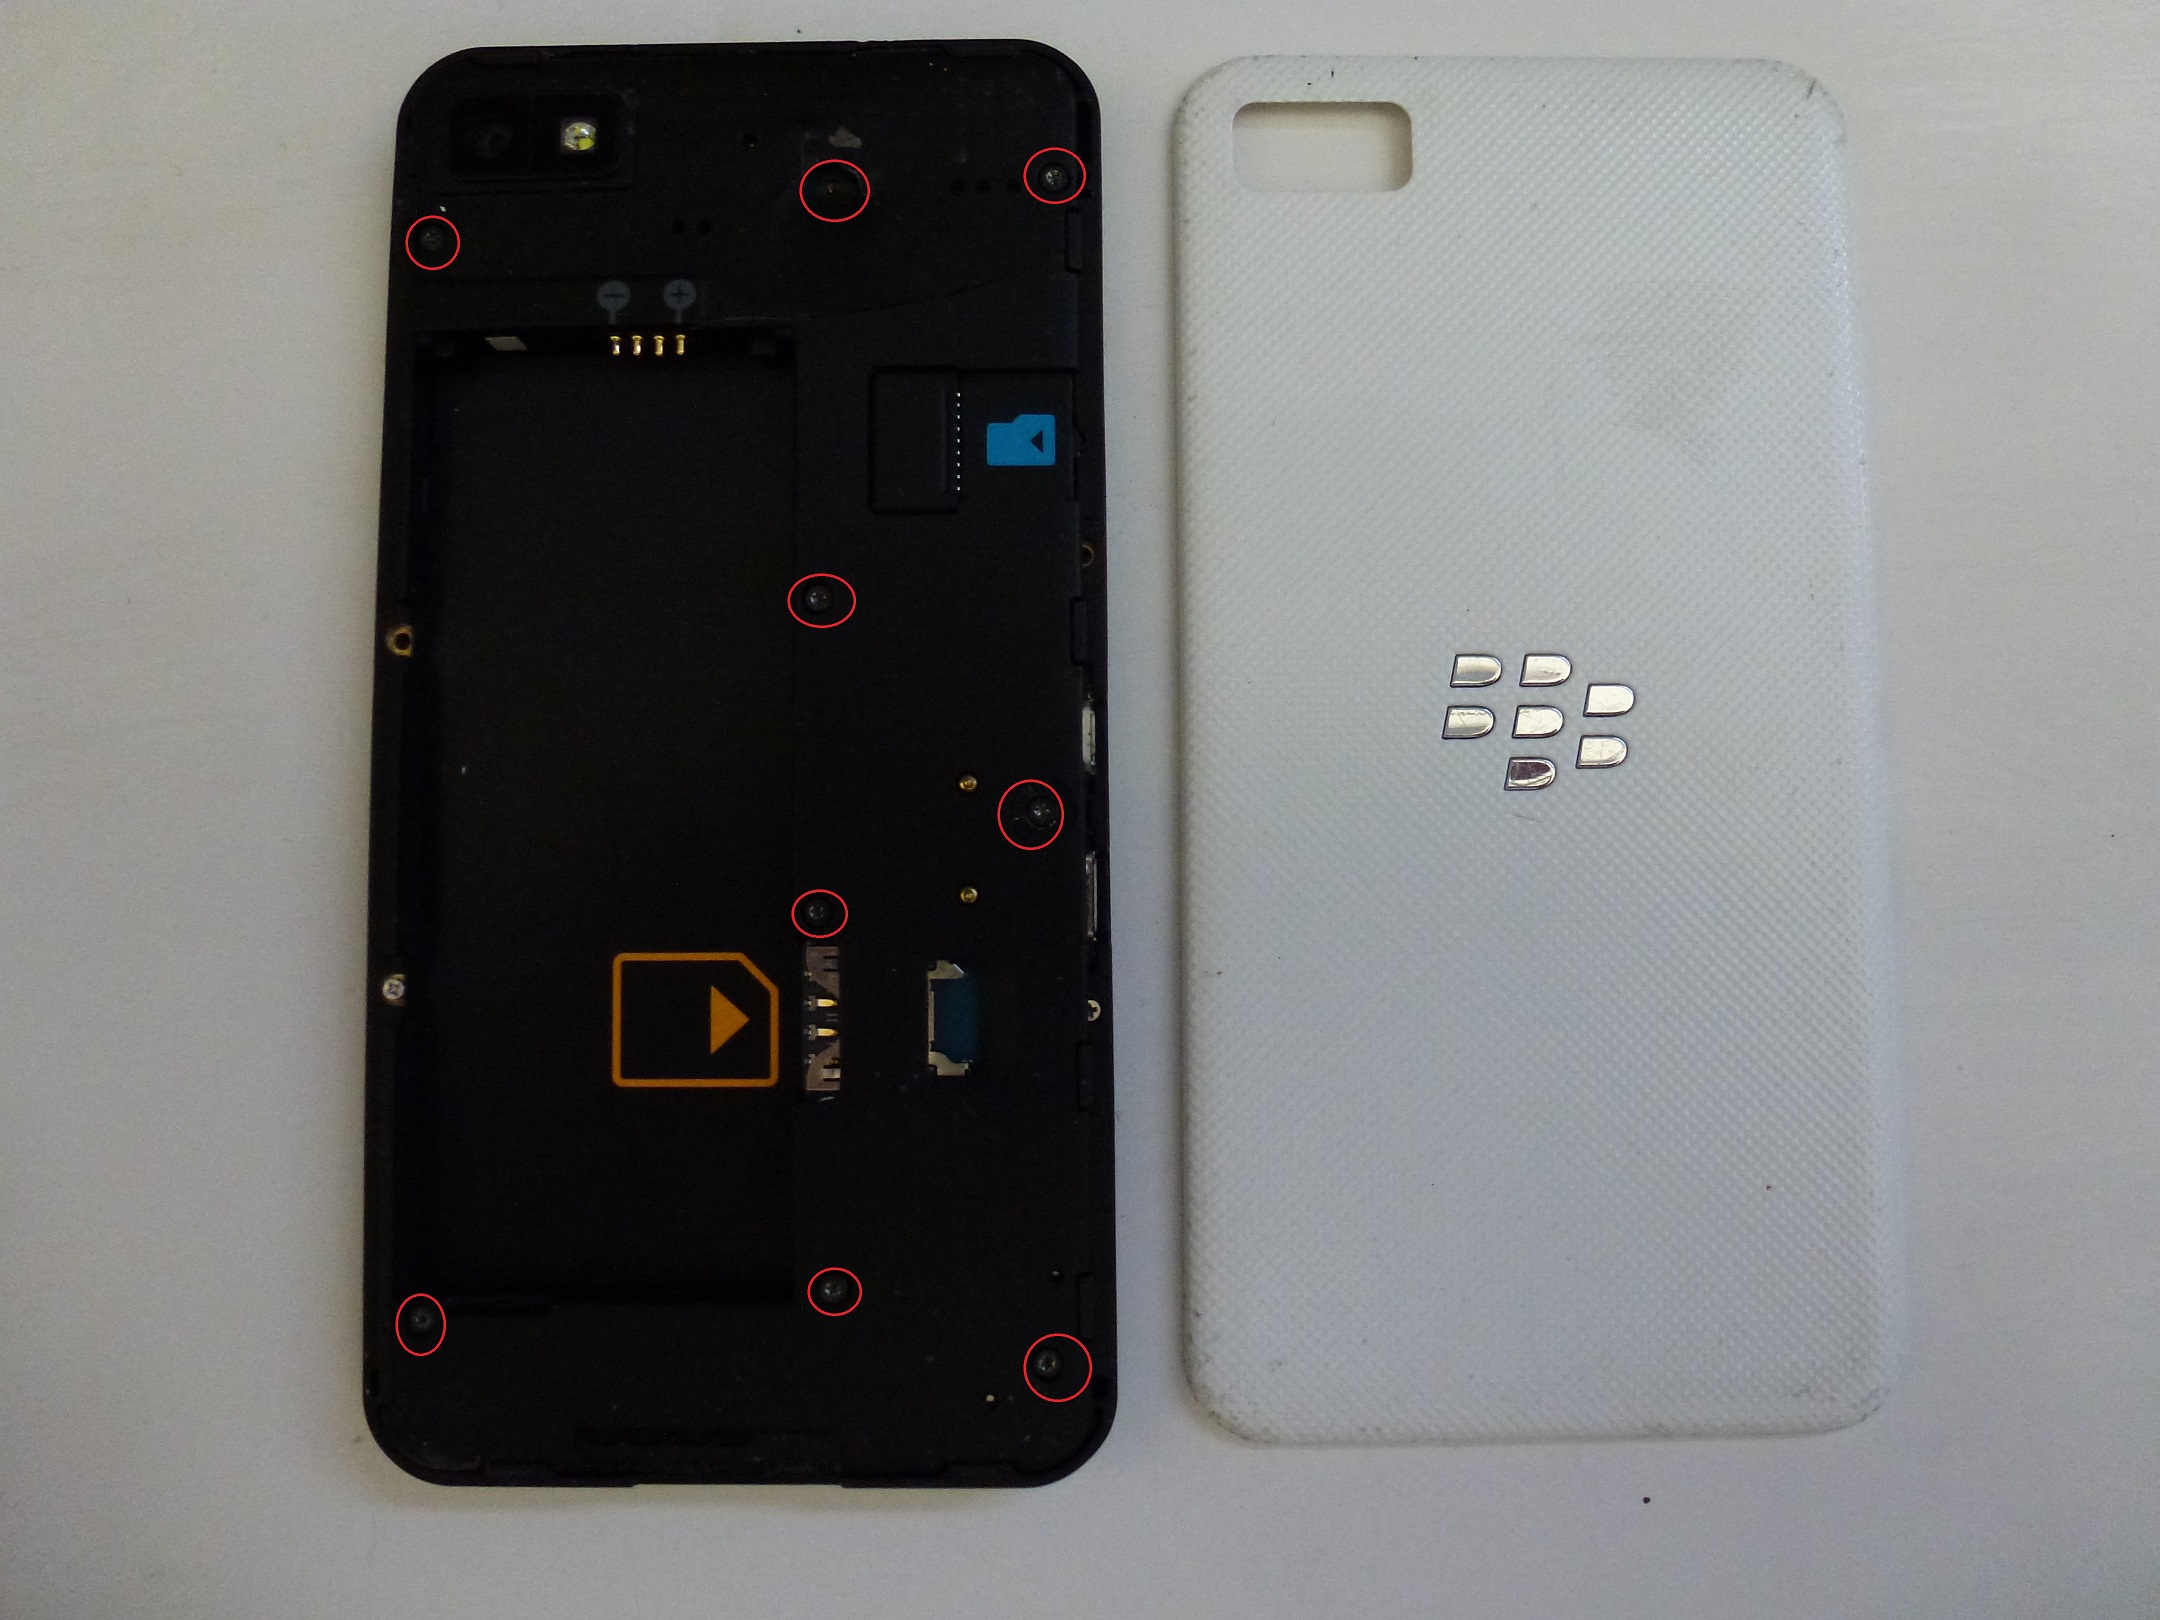
- Remove the back panel.
- Remove the Battery, SIM and SD Memory Card.
- Using a torx-4 screw driver, remove the visible screws on the back of the phone.
- Un-clip the back panel using a shim, guitar pick, or prying tool. This will expose the mainboard.
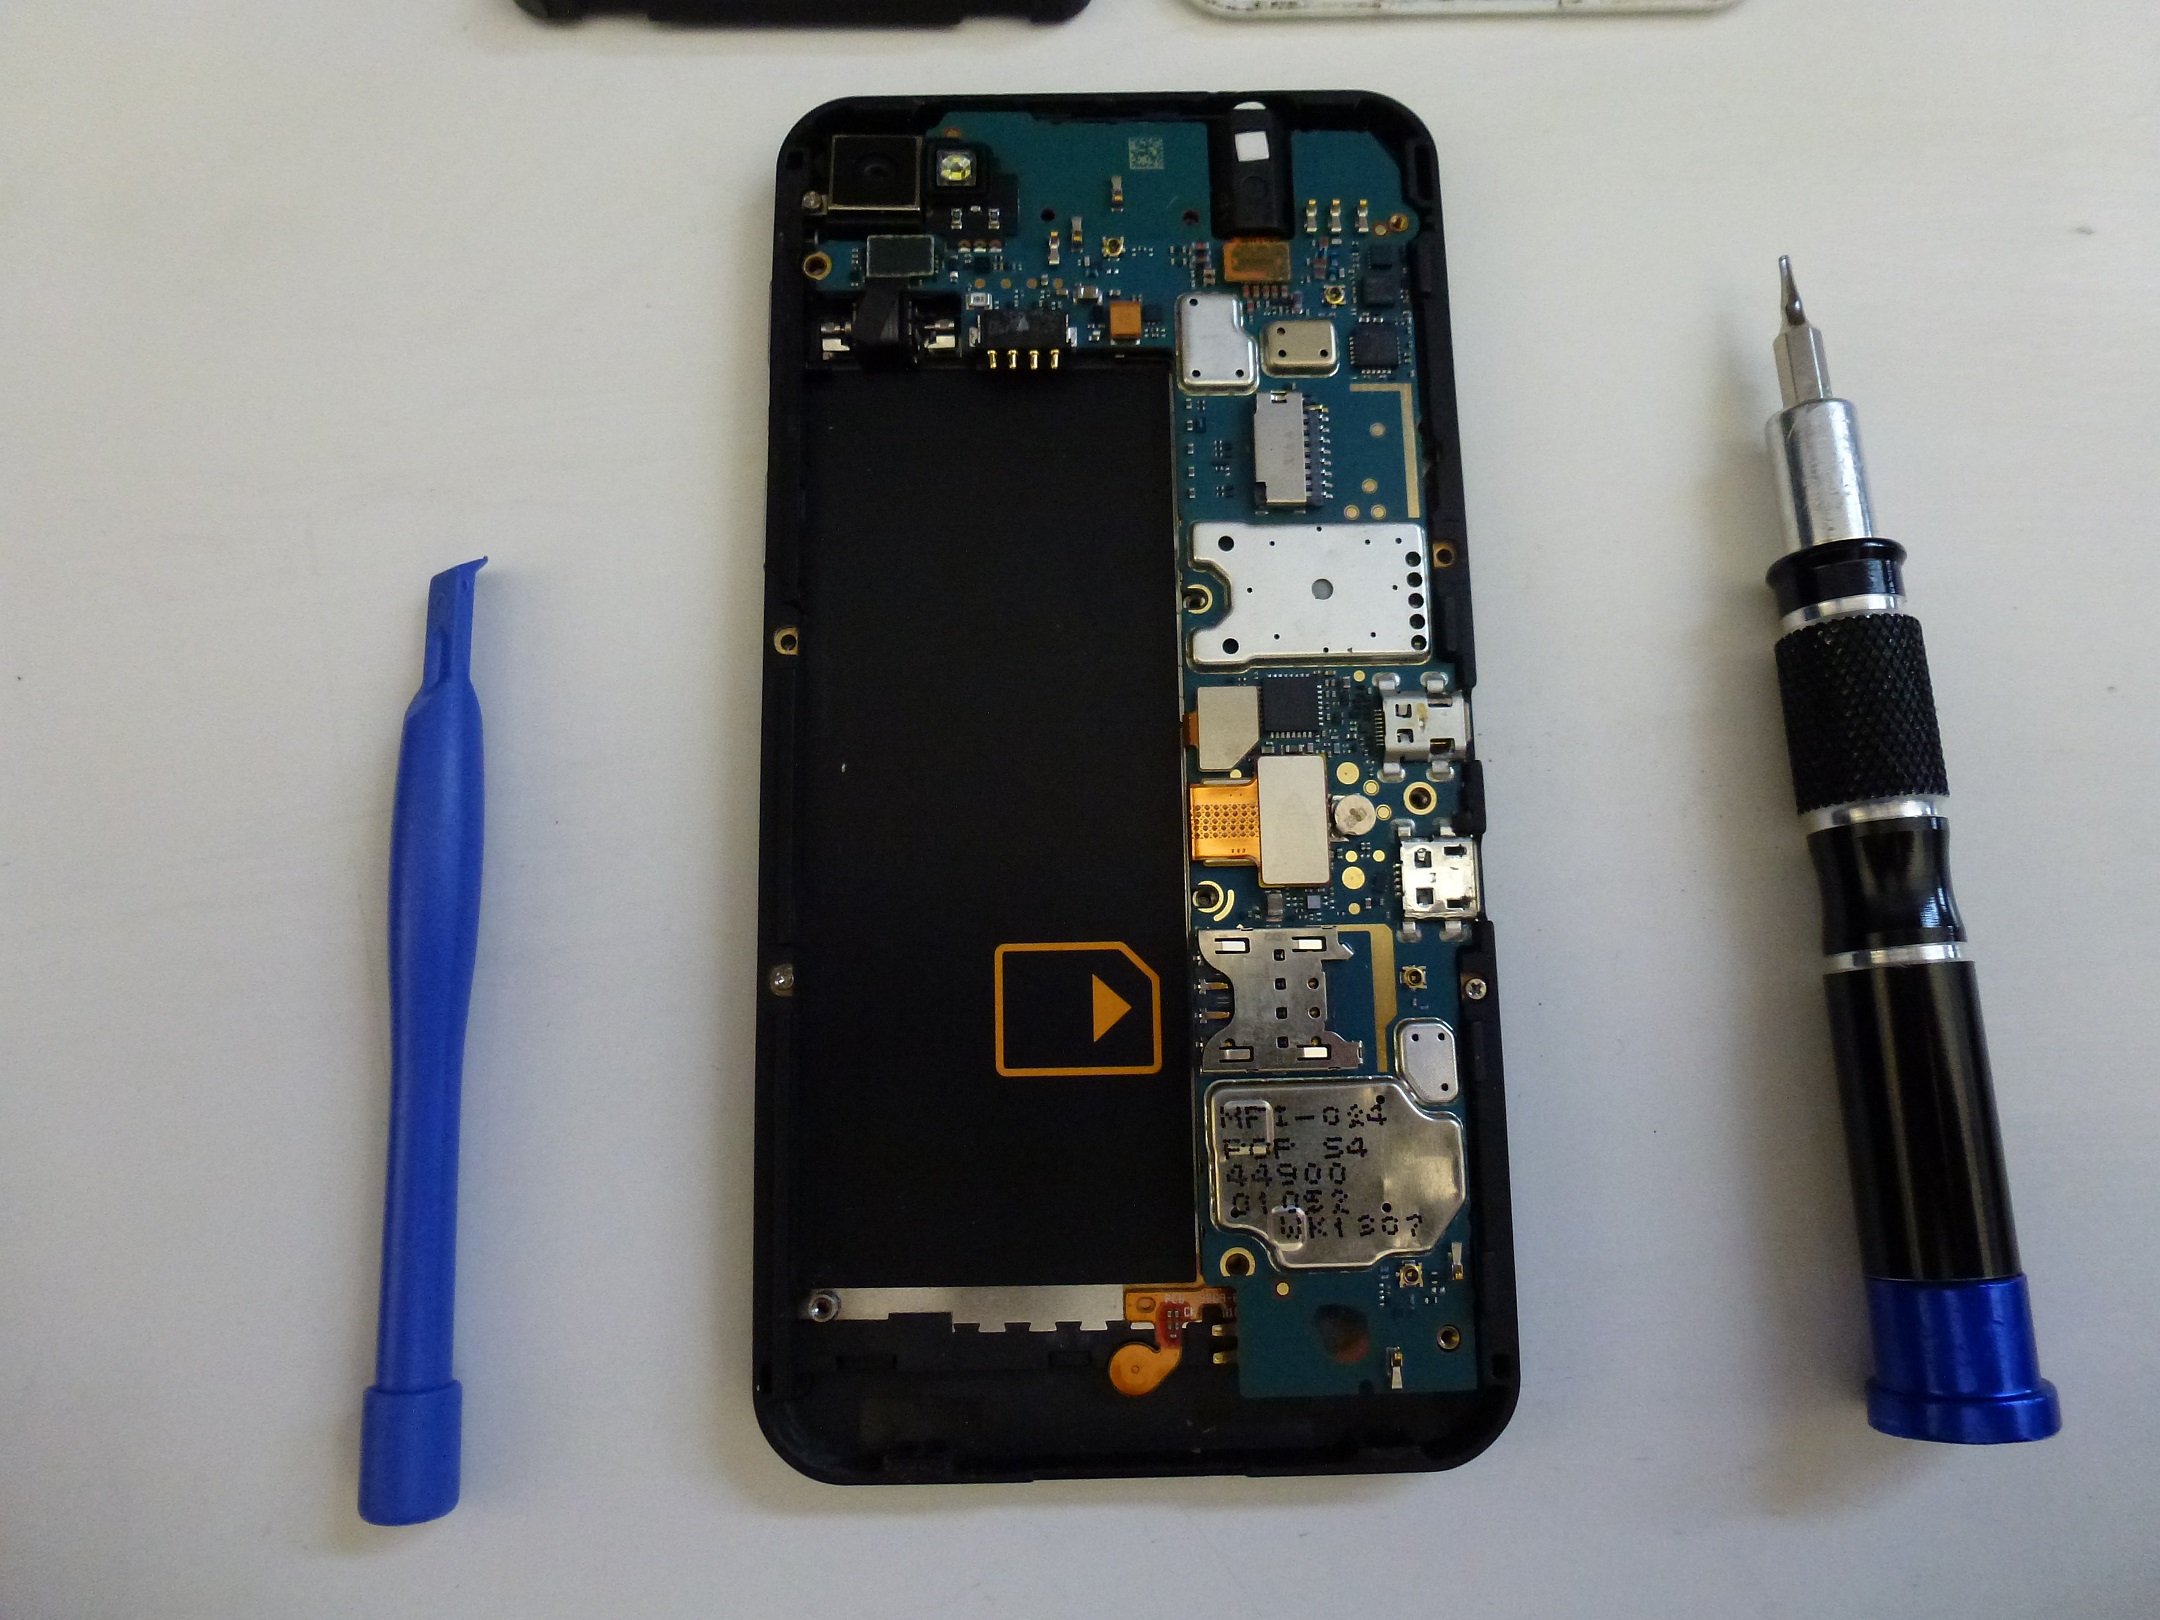
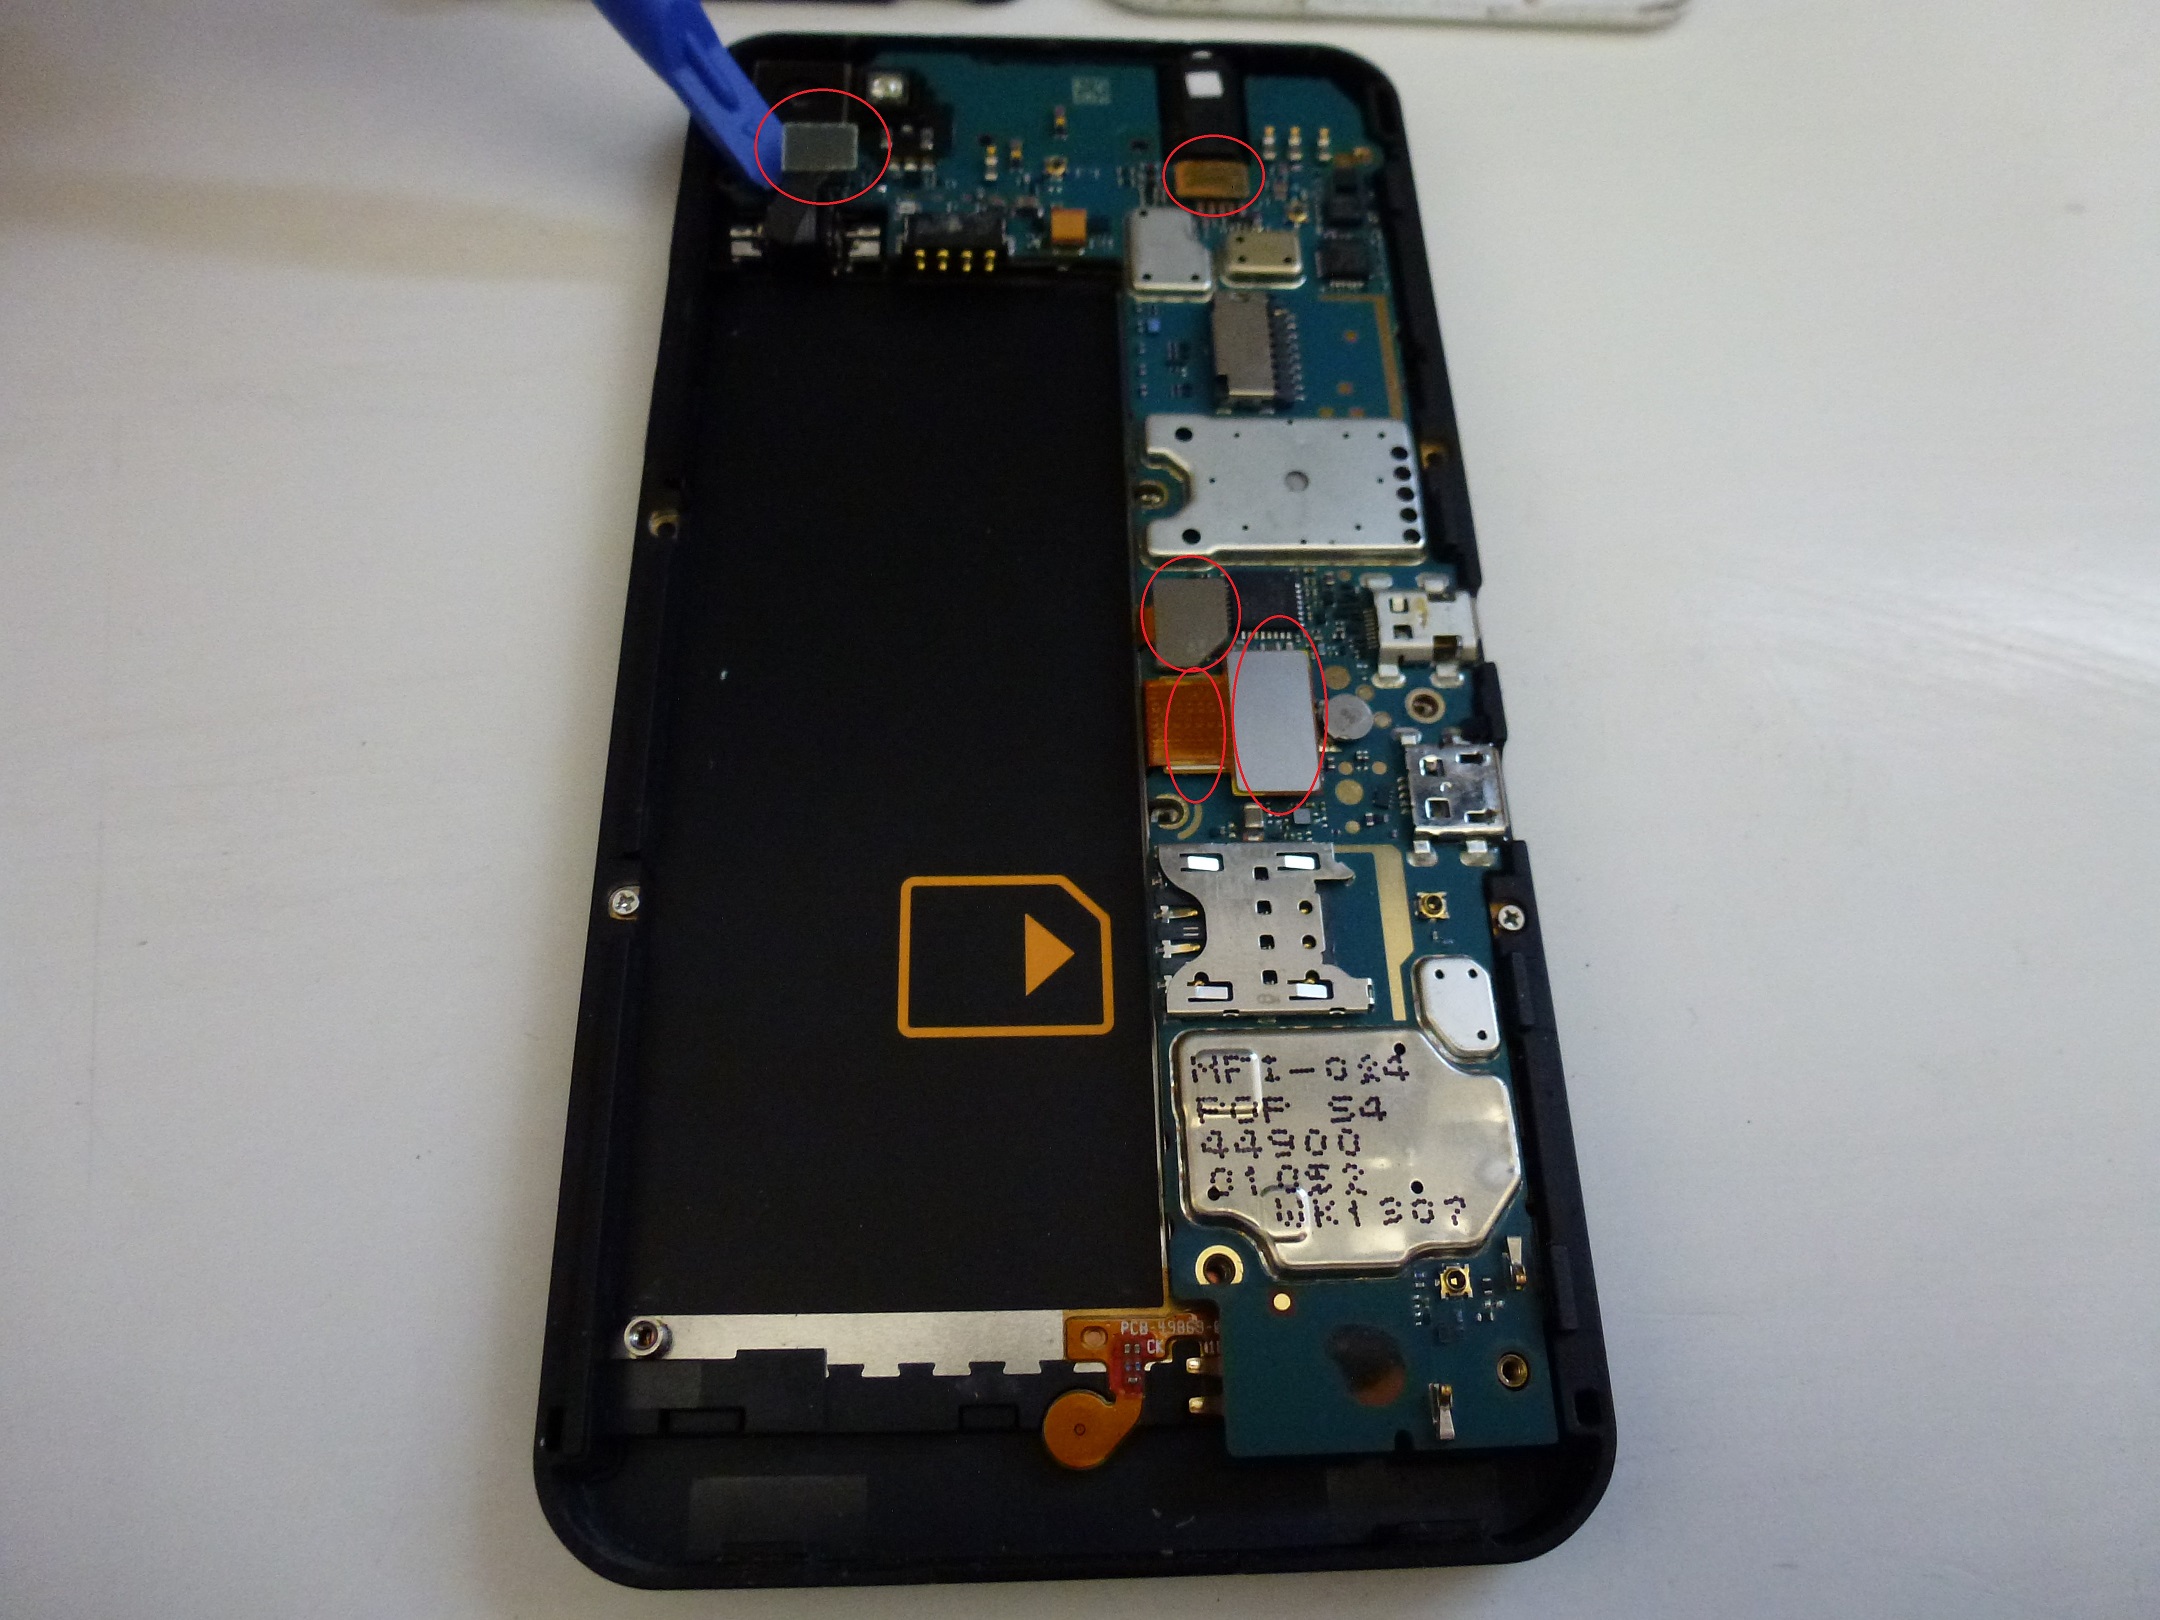
- Un-clip all connectors (5) from the mainboard, and simply lift the board out of the phone.
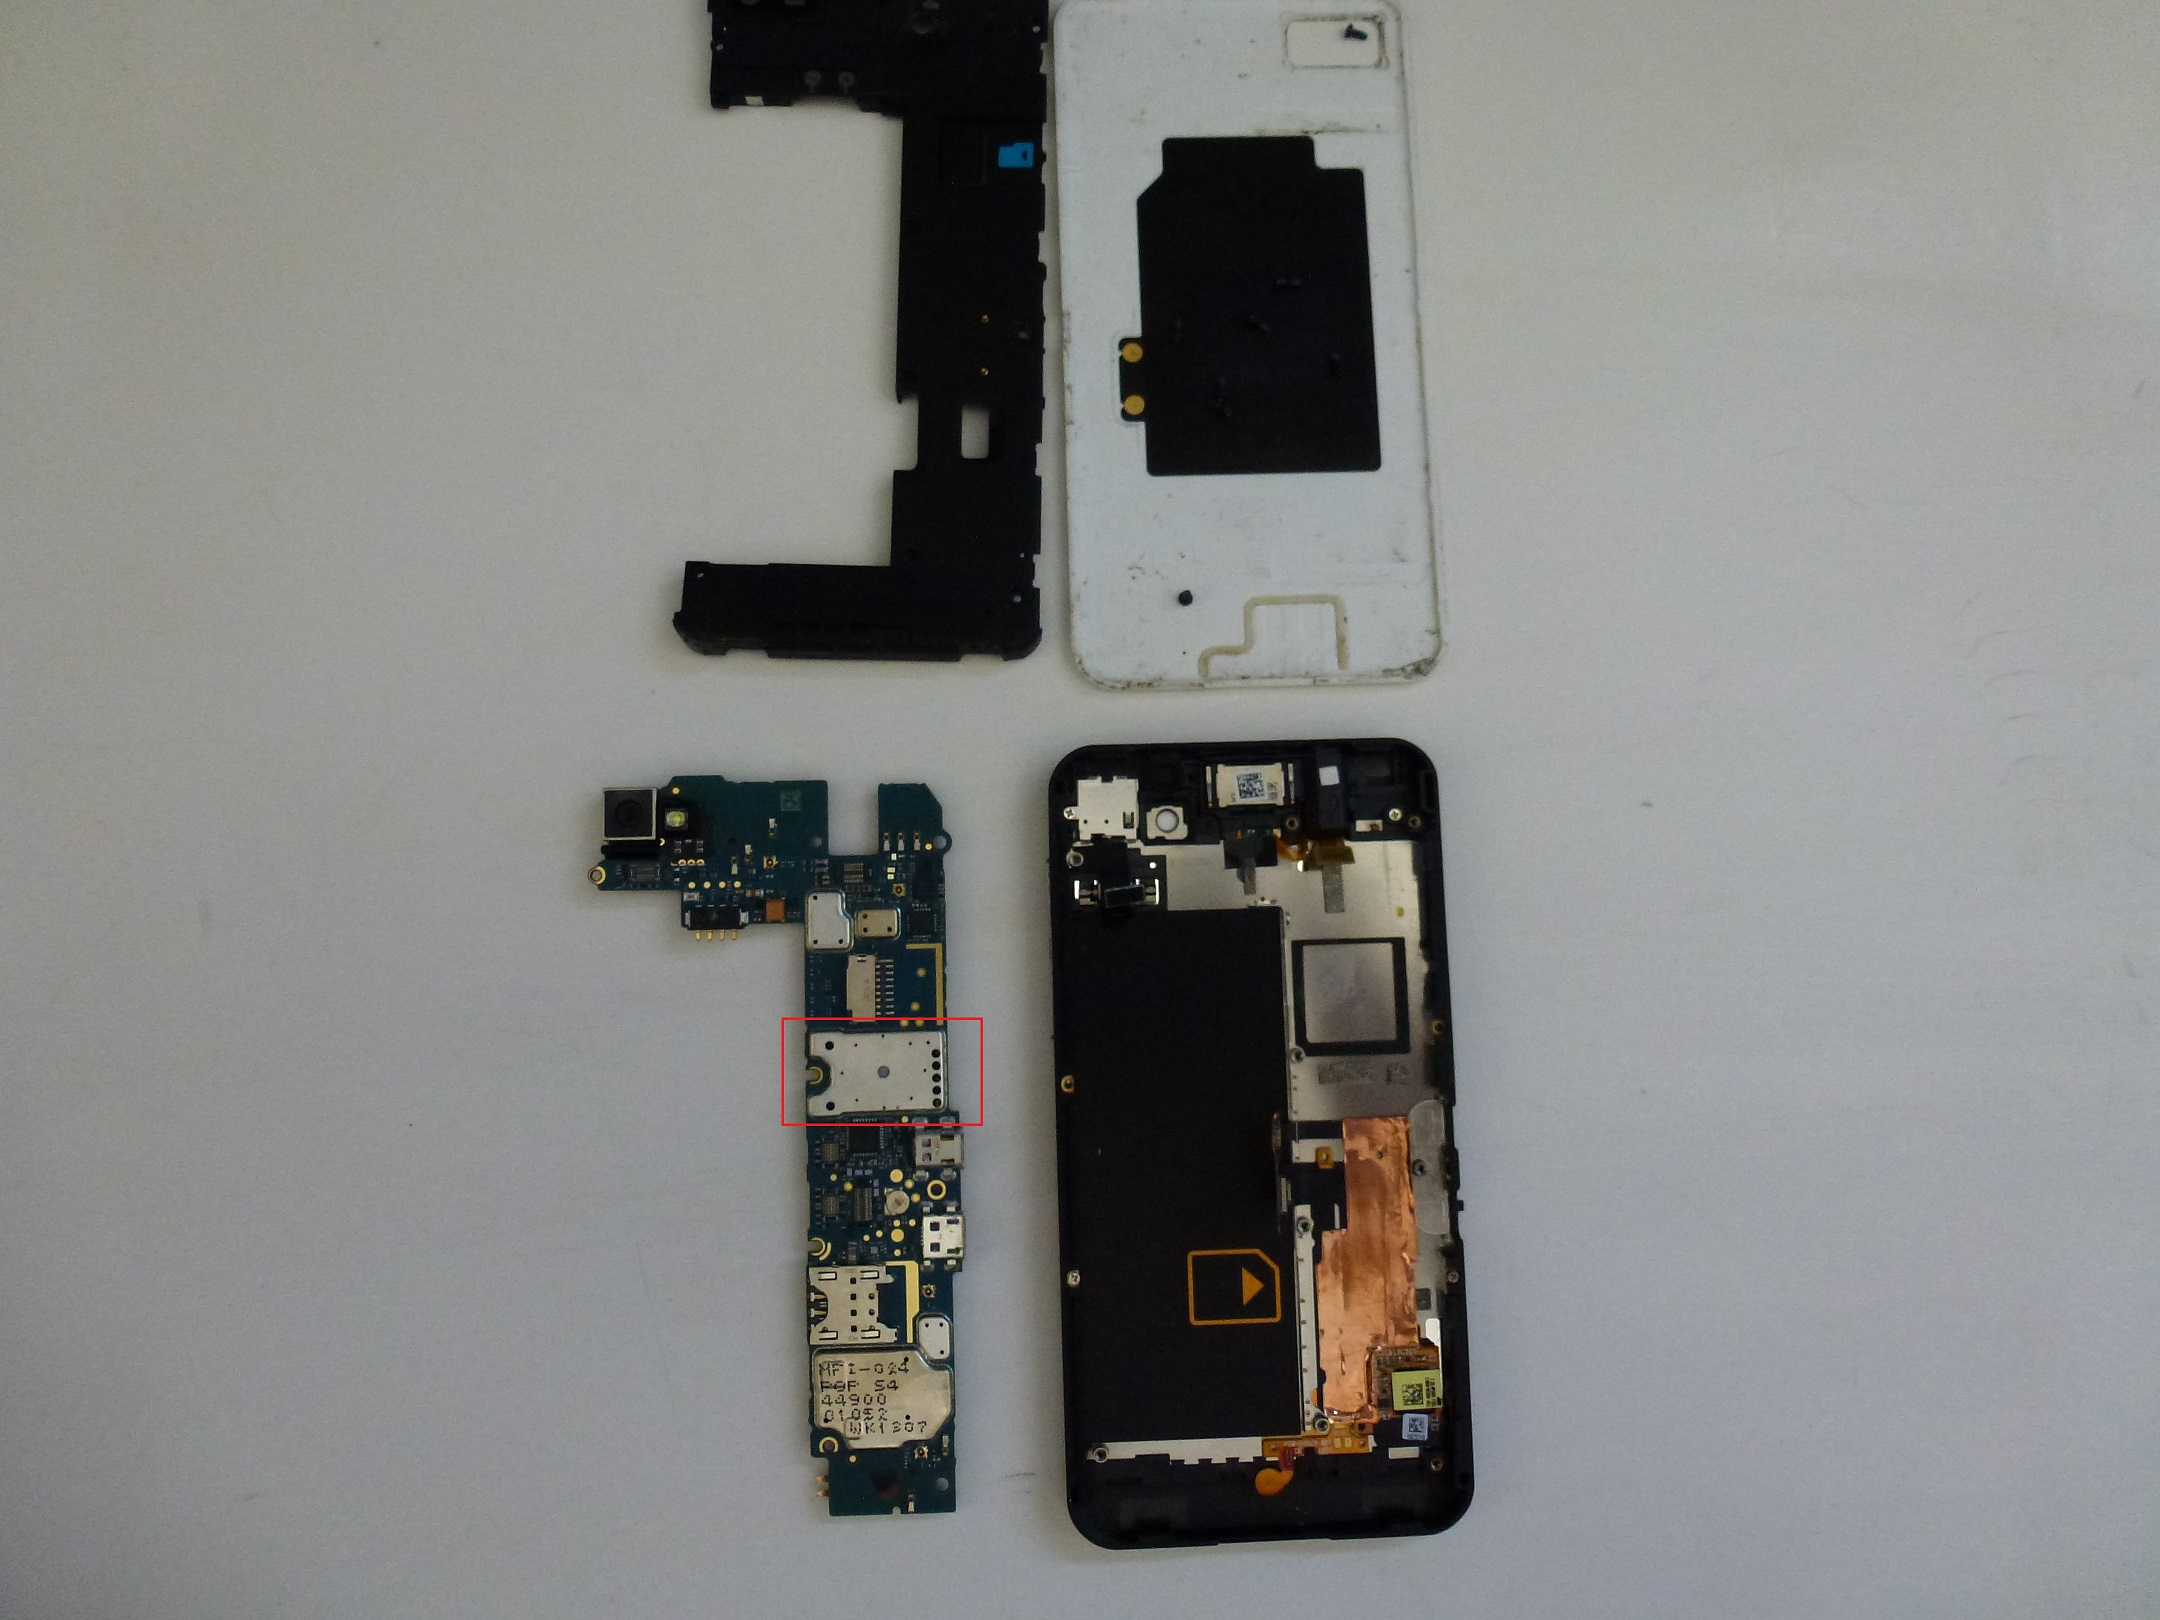
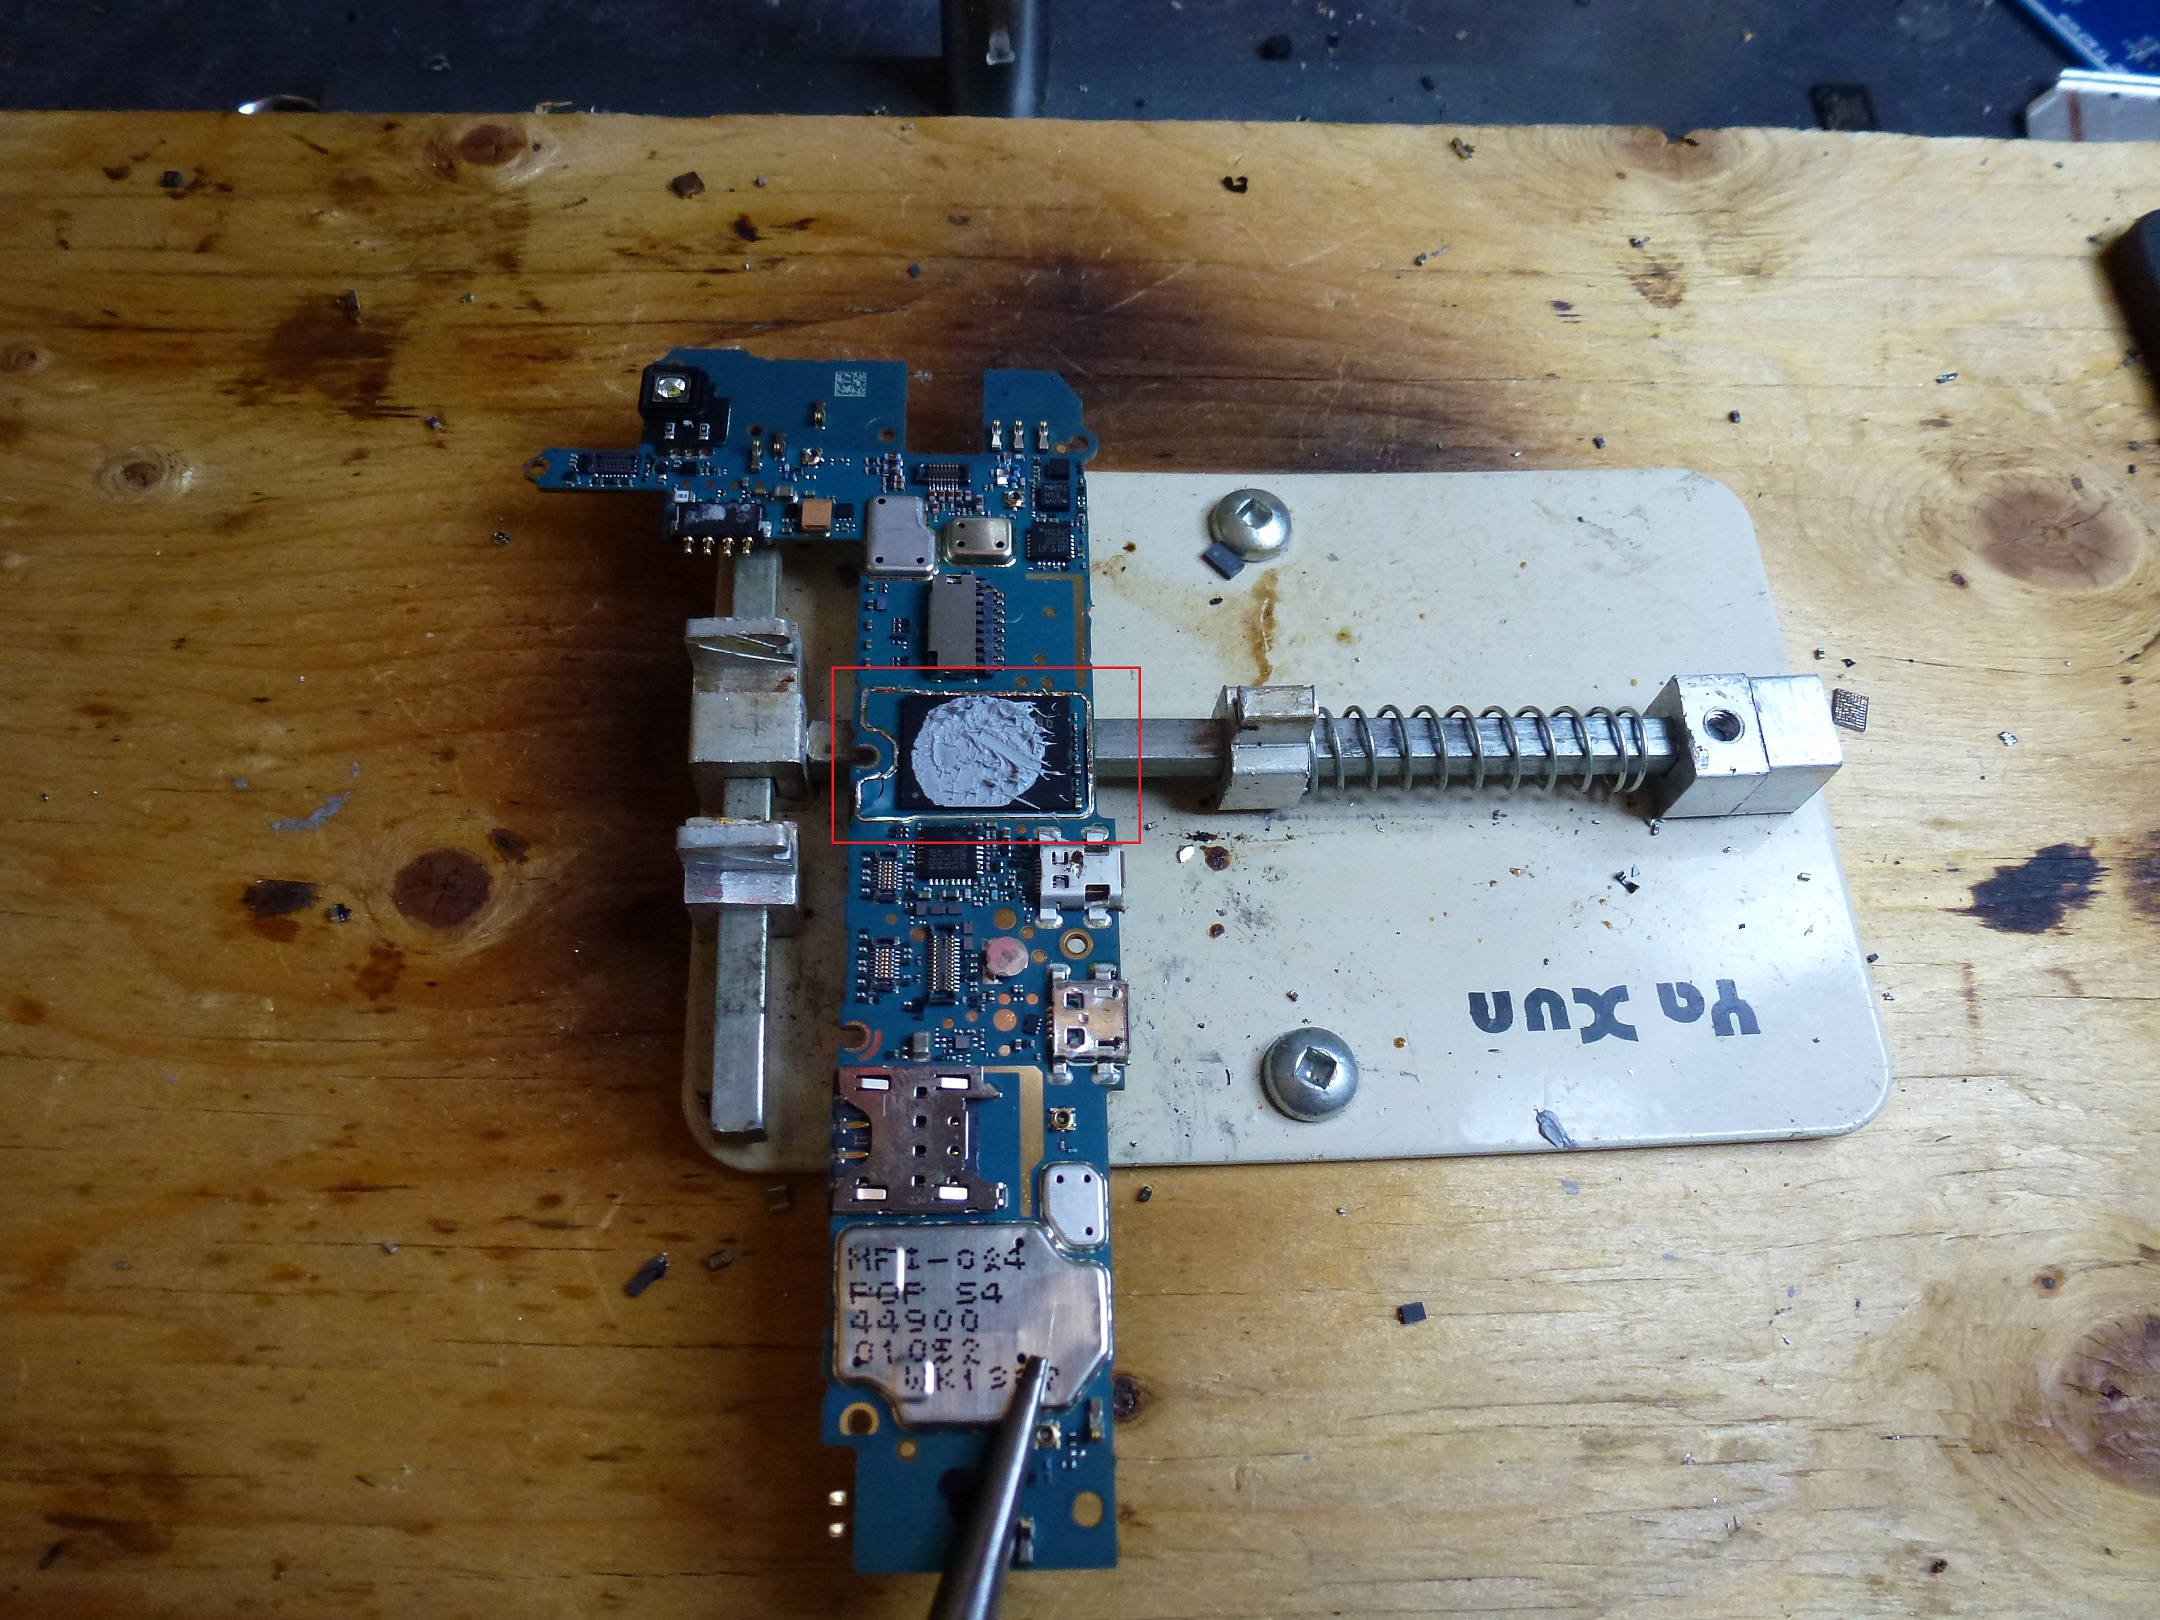
- Remove the shield to expose the memory module. There will be epoxy on the chip so take your time, use adequate heat, and gently remove the chip from the board.
- Prepare the chip for reading. Again, take your time to carefully remove the epoxy without applying too much direct heat, and consistently adding flux paste.
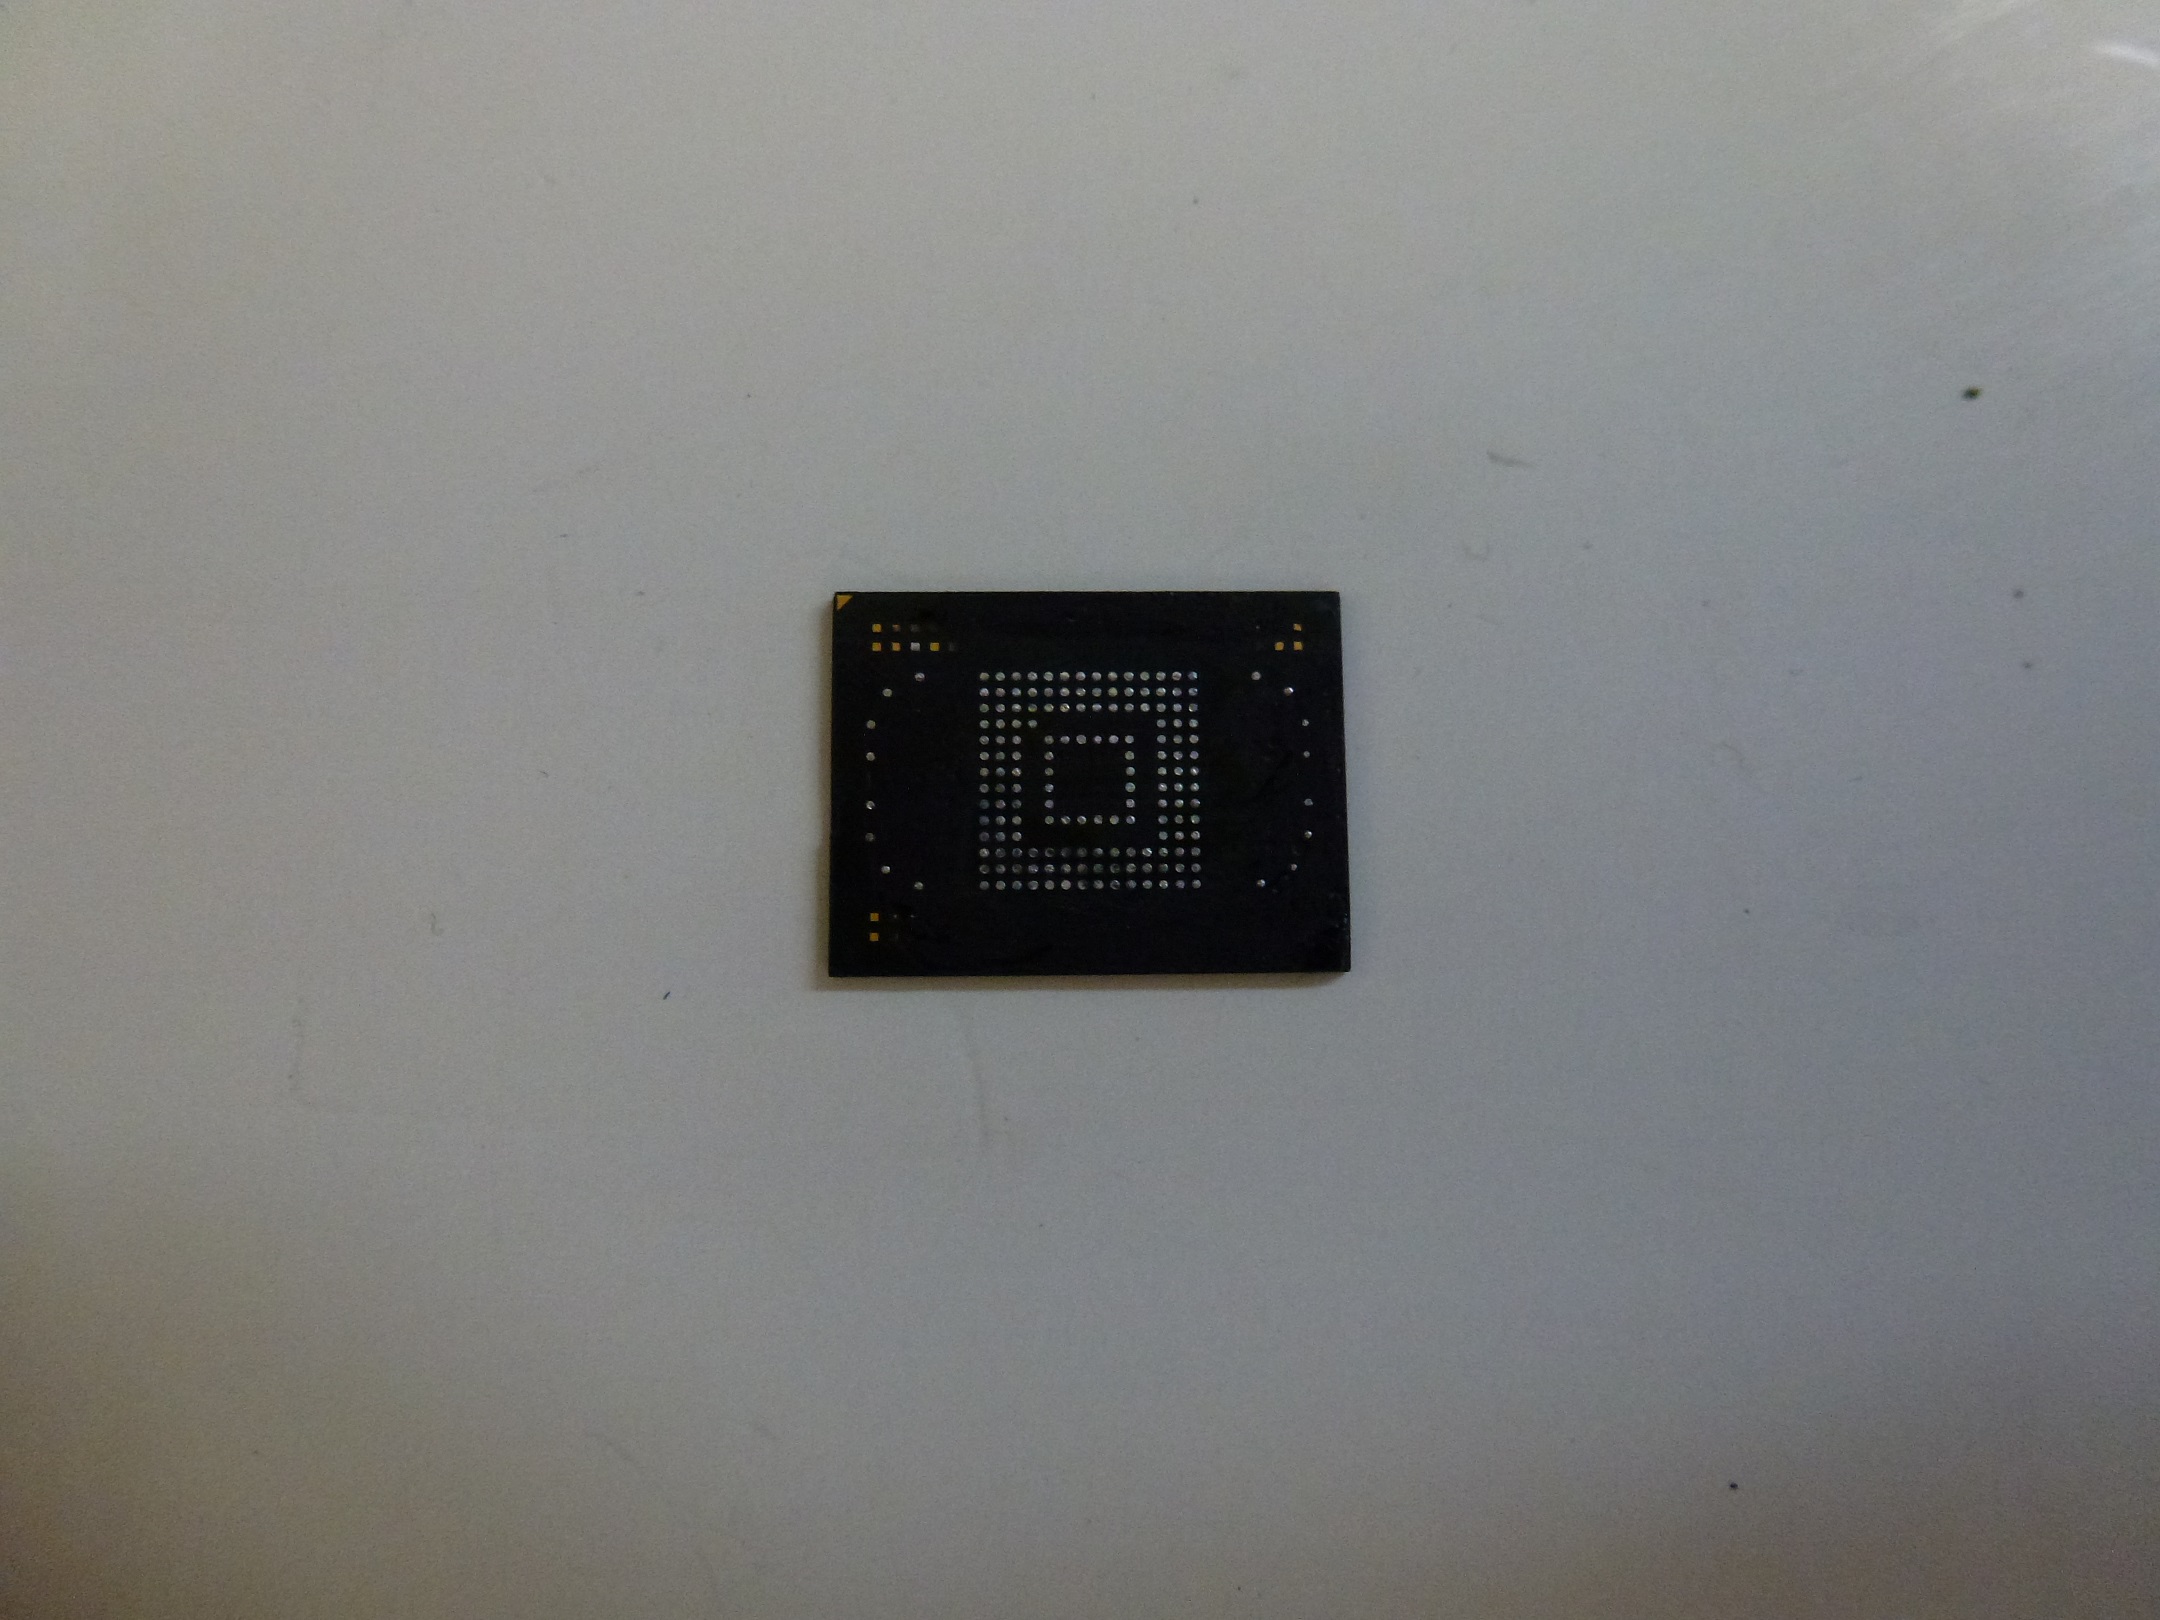
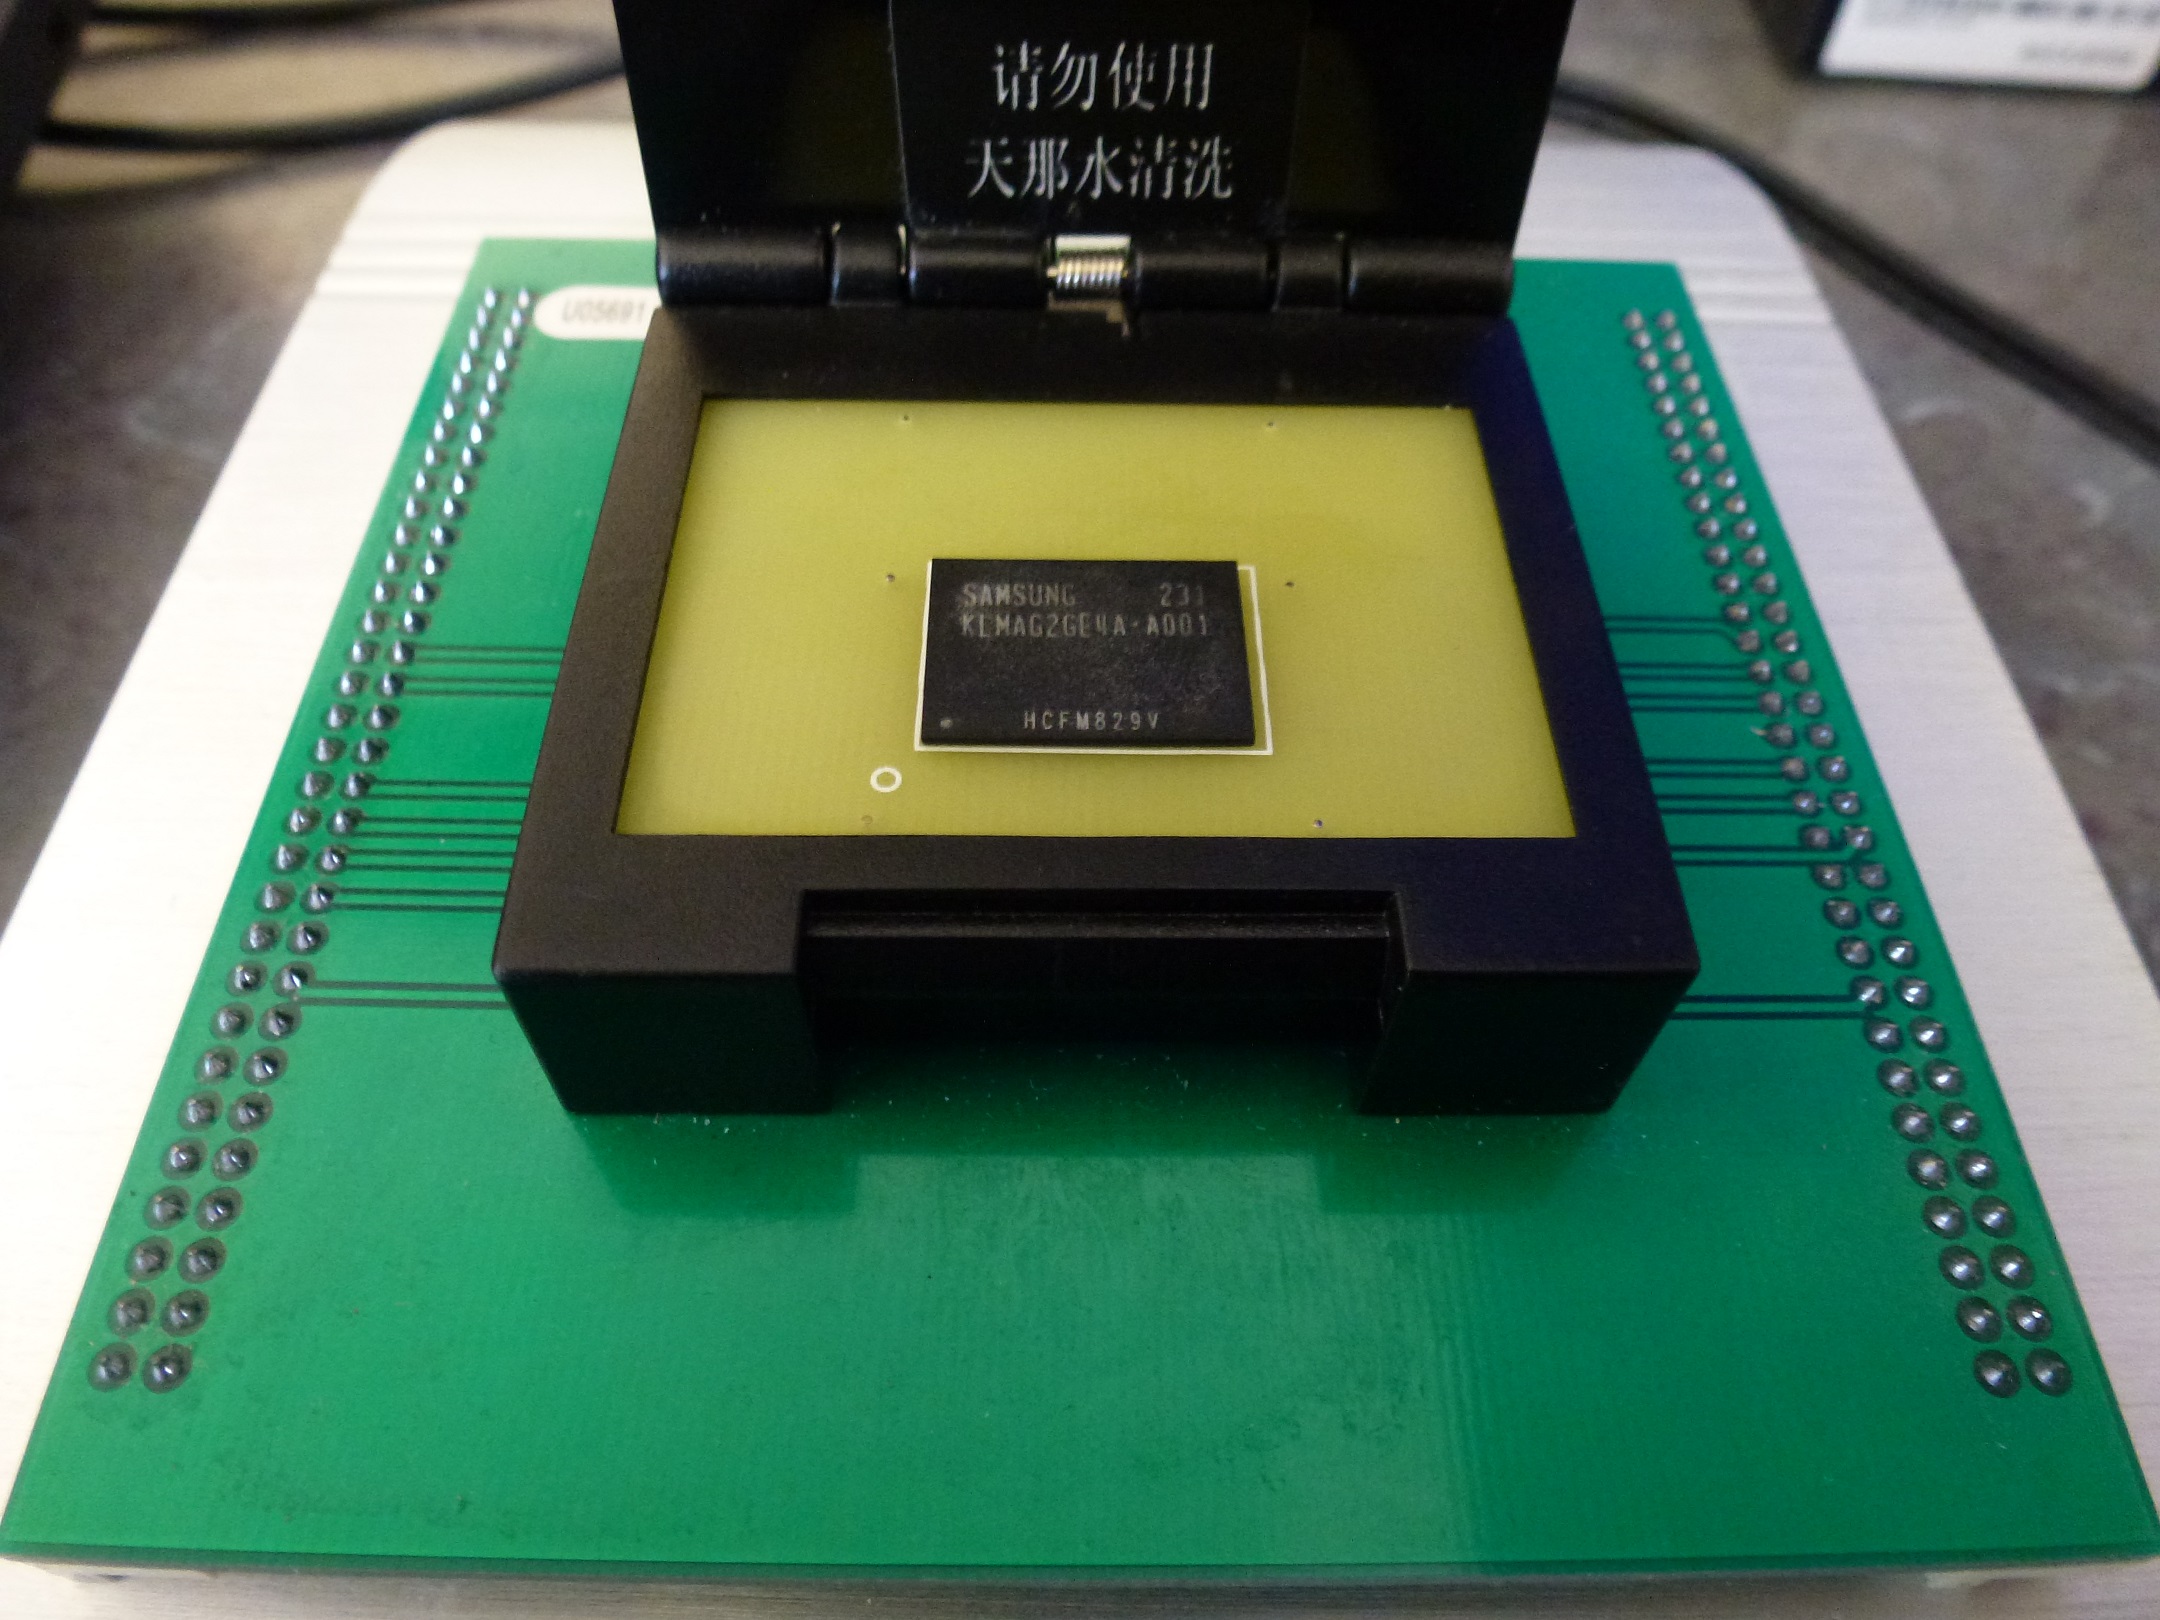
- The chip is now ready to be read. The chip in our test phone is a Samsung KLMAG2GE4A-A001. It was read using an UP-828 Programmer with the VBGA169E adapter. The resulting .bin was parsed in UFED Physical Analyzer.
