Chip off blackberry curve 9320
The hardware used in the BlackBerry 9315's and 9320's are almost identical. The following link describes the differences between the models.
Tear Down
- Remove the back panel.
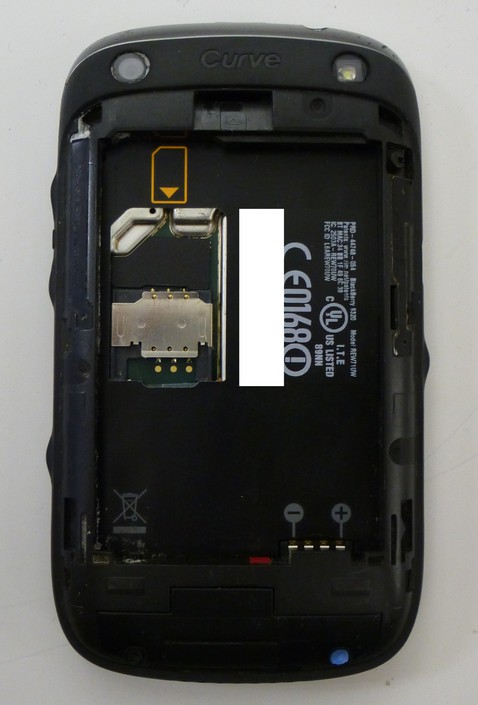
- Remove the SIM and SD Memory Card.
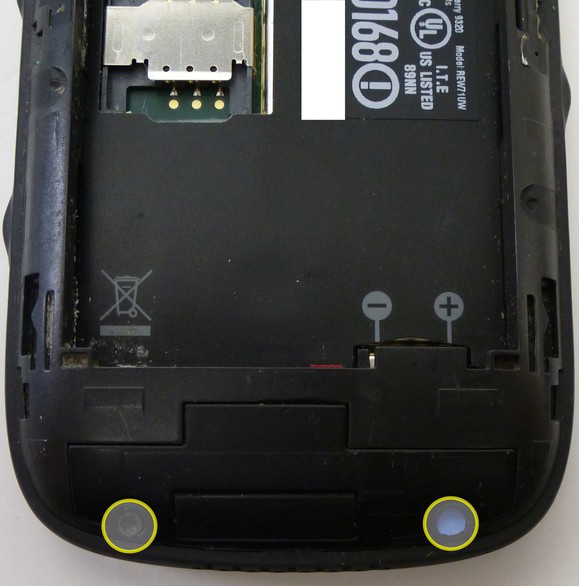
- Using a torx-6 screw driver remove the 2 visible screws on the back of the phone.
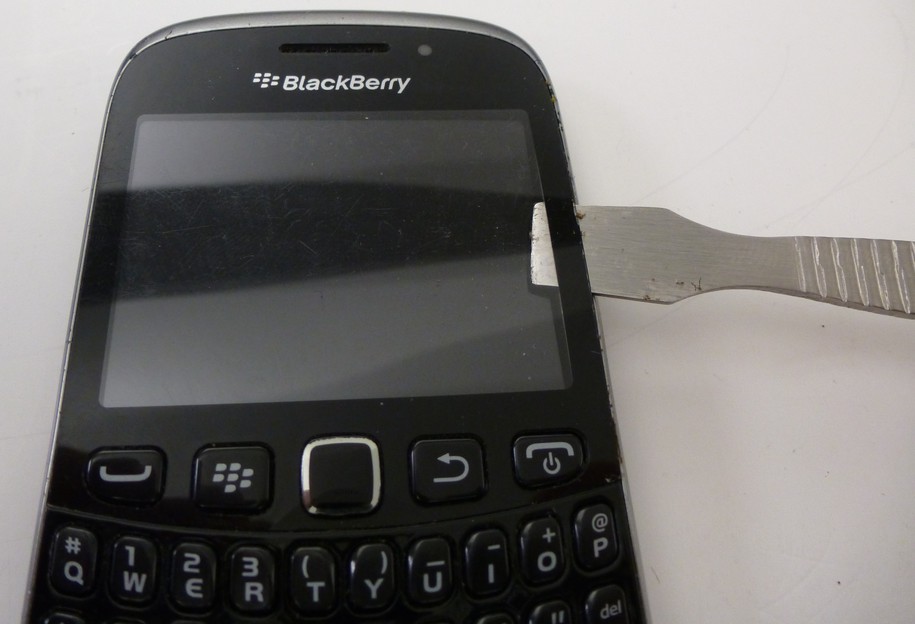
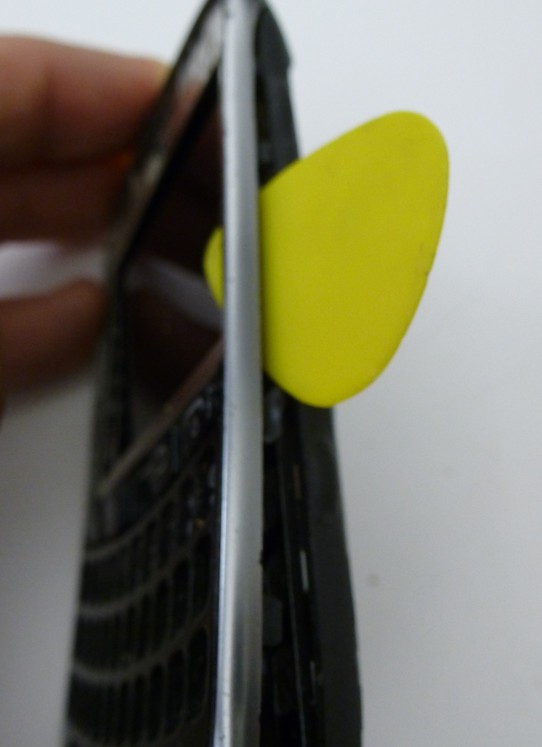
- Remove the screen protector using a shim, guitar pick, or prying tool.
- Remove 2 torx-5 screws.
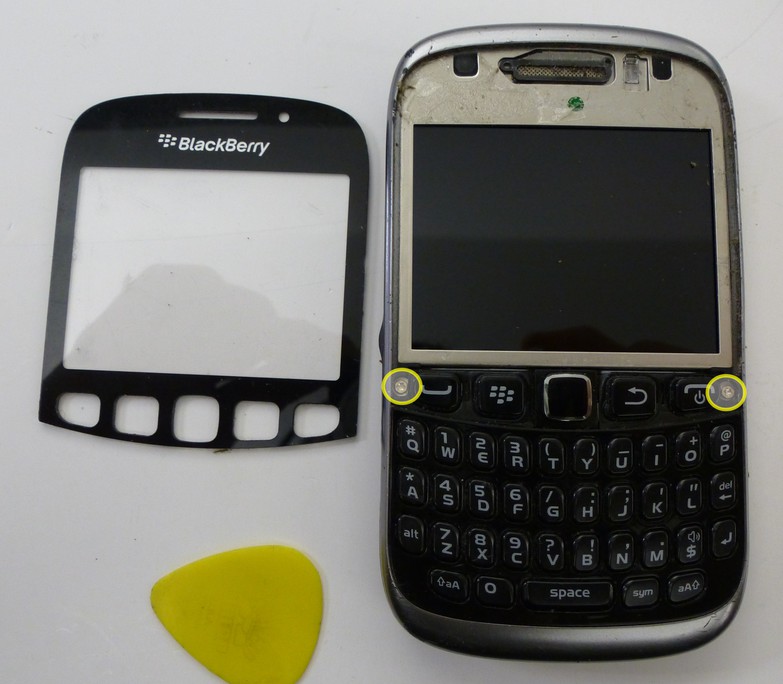
- Use the shim to detach the outer bezel/keyboard from the device.
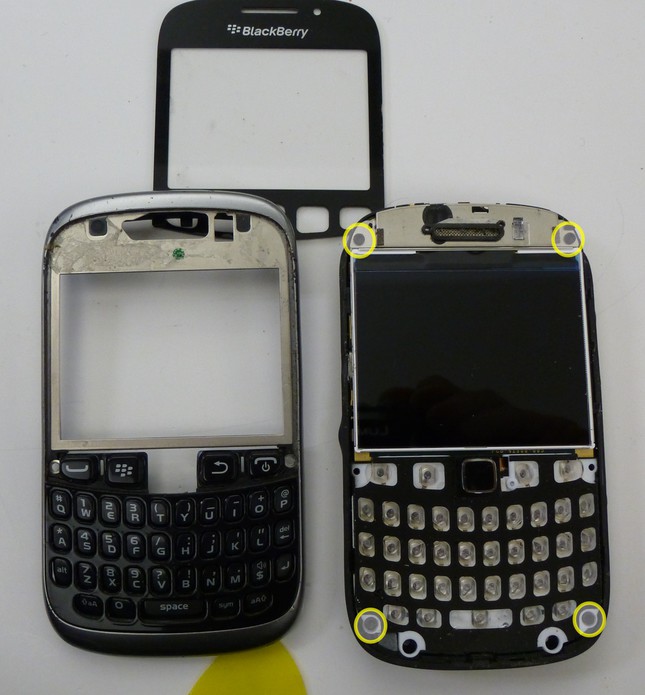
- Remove 4 additional torx-6 screws. The main board will now easily be separated from the back plate
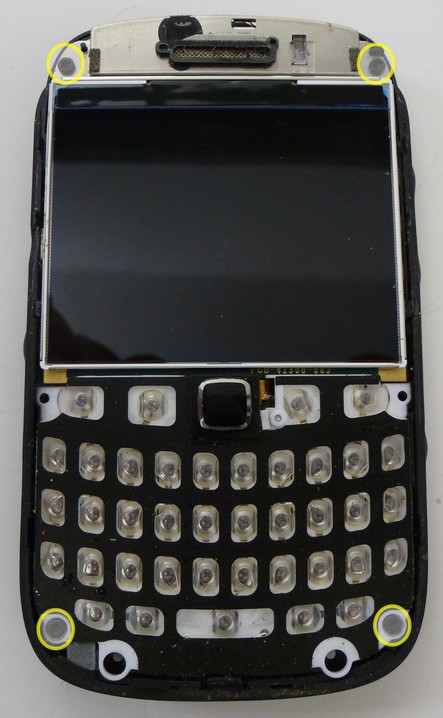
- Peel off the vendor sticker.
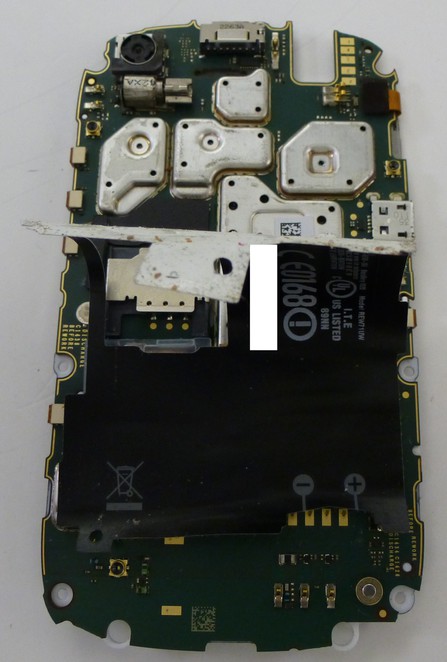
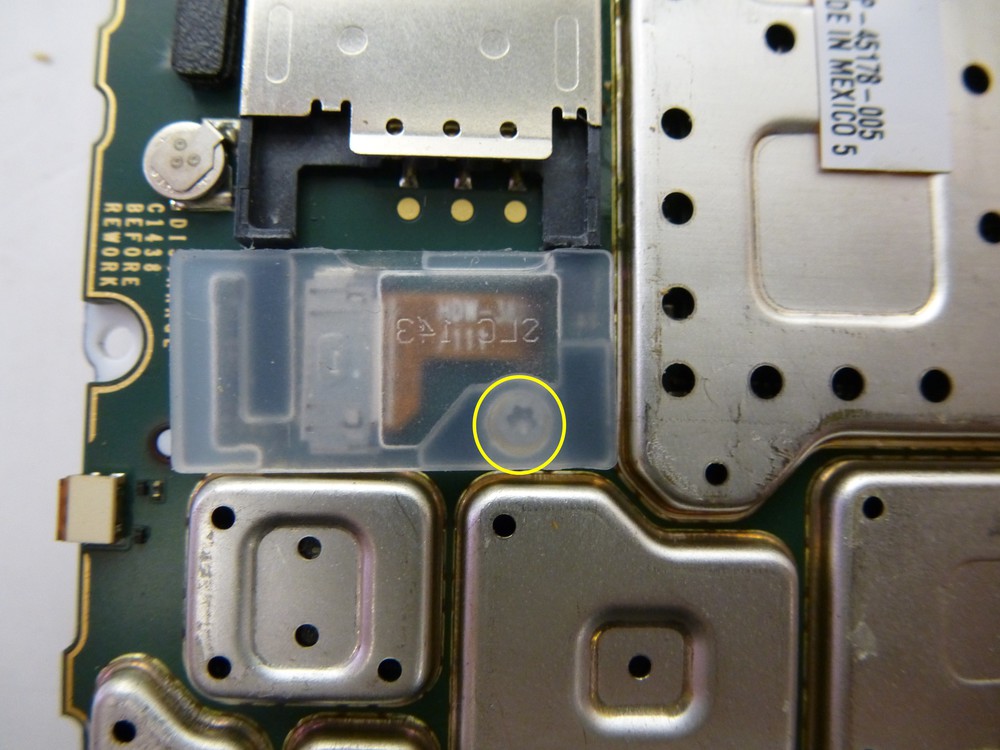
- Remove the plastic cover protecting the track pad ribbon cable, and disconnect the track pad.
- Remove the final torx-4 screw located beneath the plastic protector, to remove the plastic keyboard overlay.
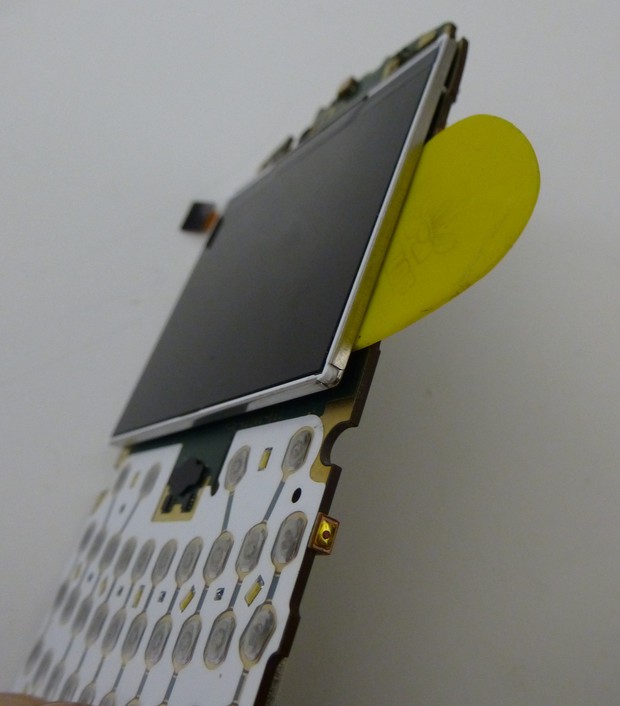
- Disconnect the ribbon cable connected to the LCD. Then using a pick separate the display from the main board.
|
- The tear down is now complete
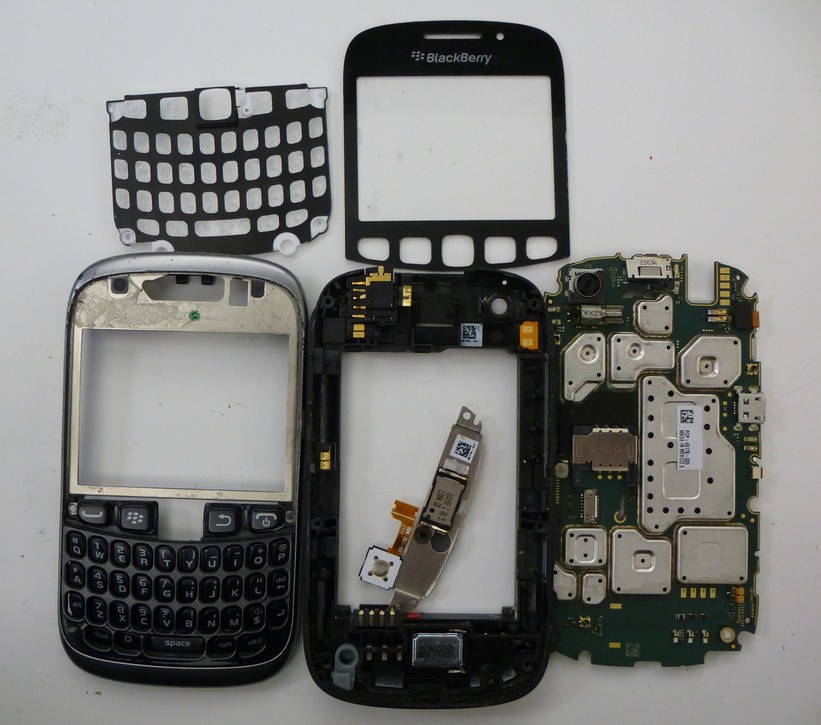
eMMC Removal
- The eMMC is located beneath the heat shield directly above the Micro SD card slot.
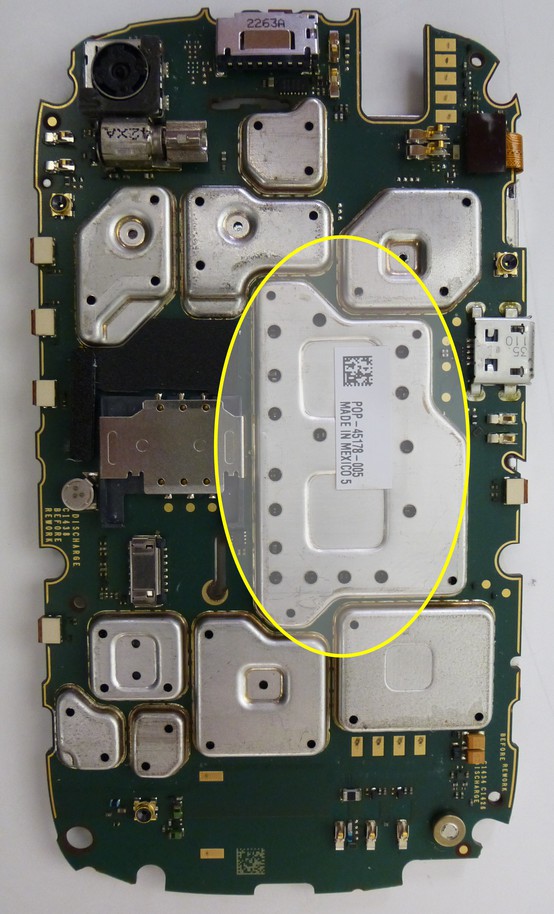
- Place the main board in a stand or holder and position it approximately 2 1/2" - 3" inches away from a heat gun or device the blows super hot air.
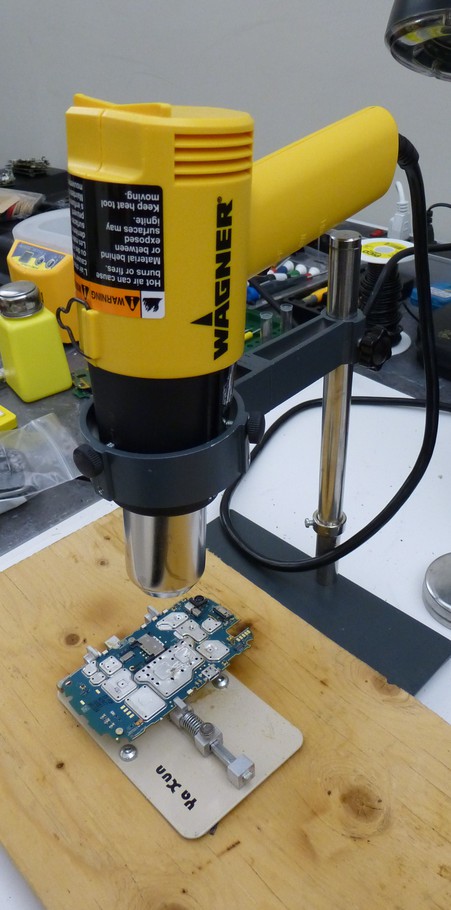
- Monitoring the temperature the heat shield will come off easily between 190-200 Centigrade.
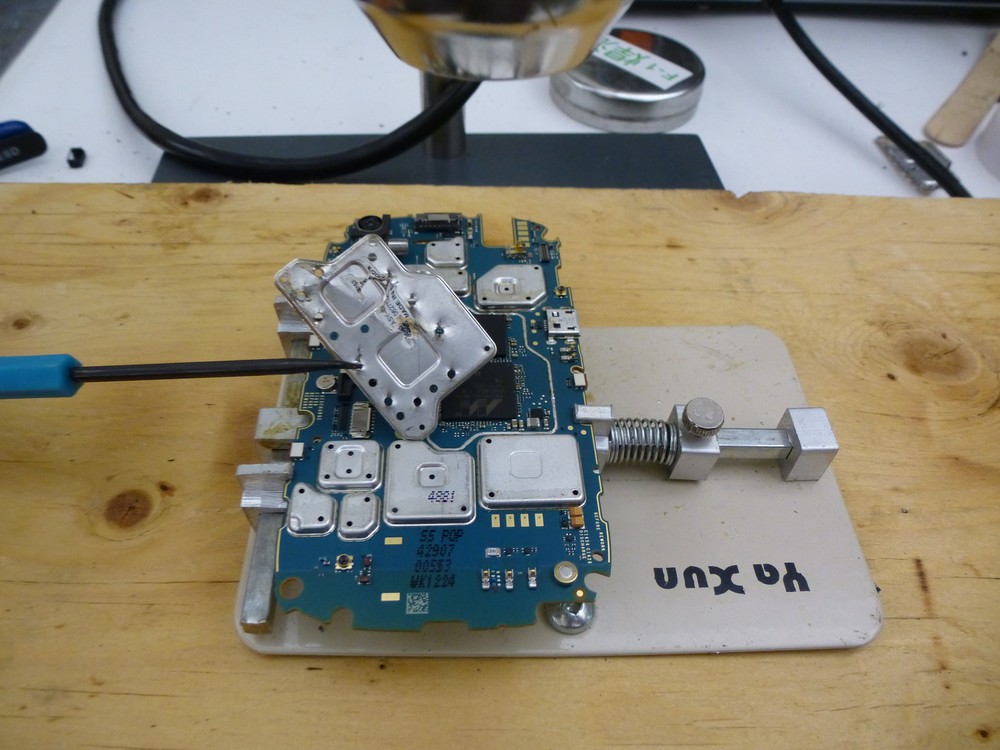
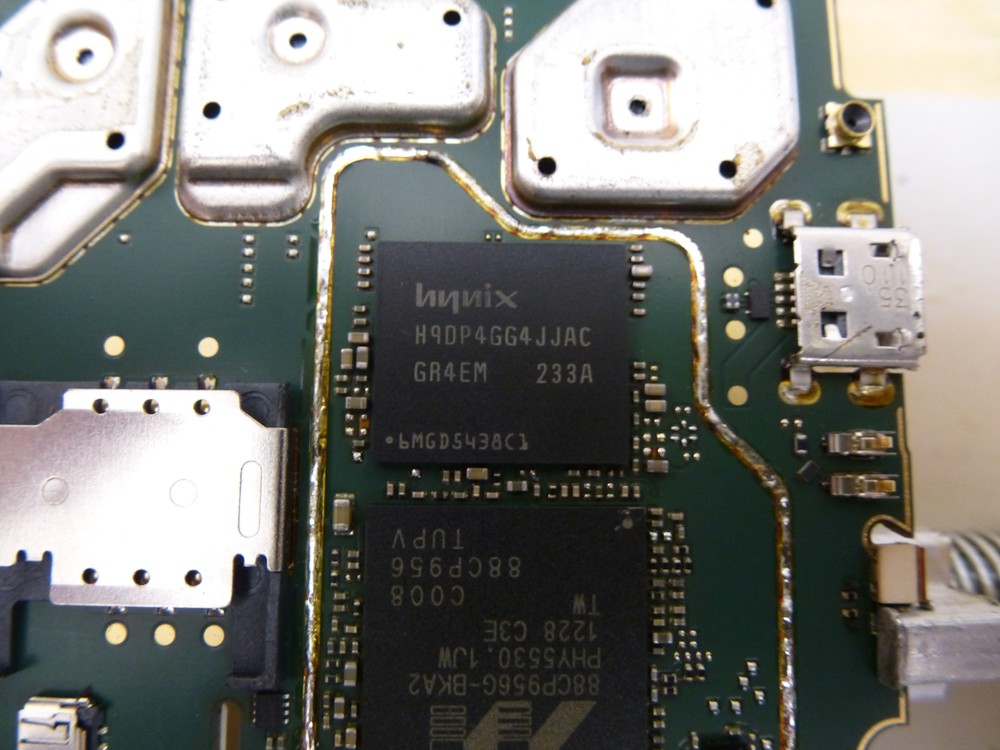
- Continue working under the high heat. With the 9315/9320's I've worked on the eMMC has been ready to lift off of the main board using tweezers immediately after removing the heat shield.
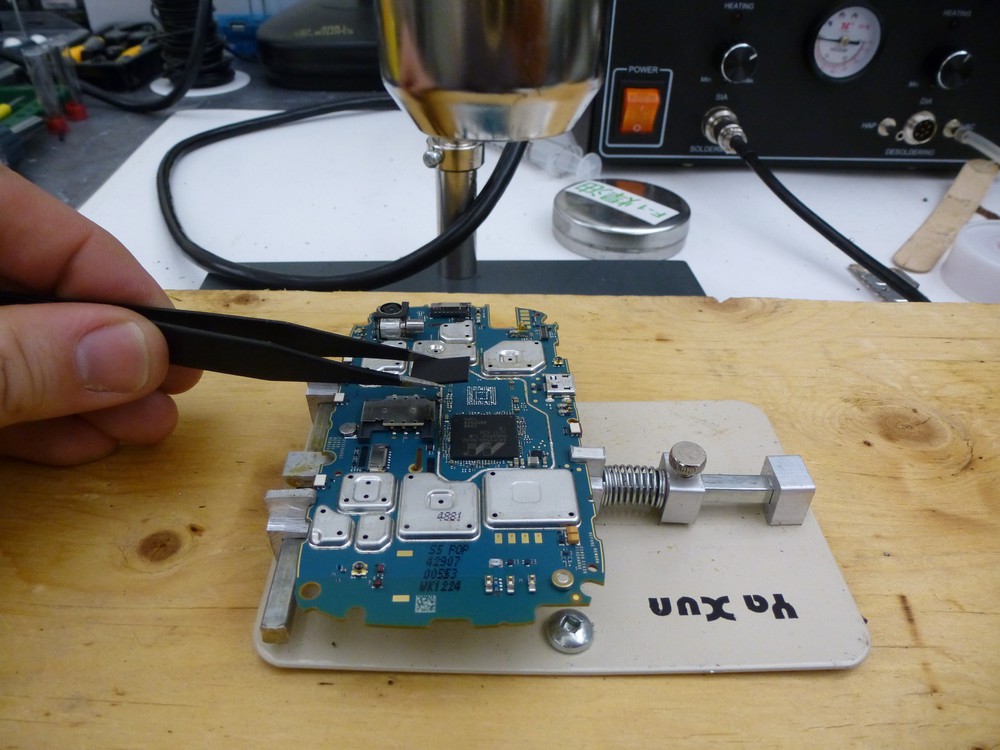
- Using liquid flux, or flux paste and a soldering iron clean the pads on the eMMC in preparation for a read
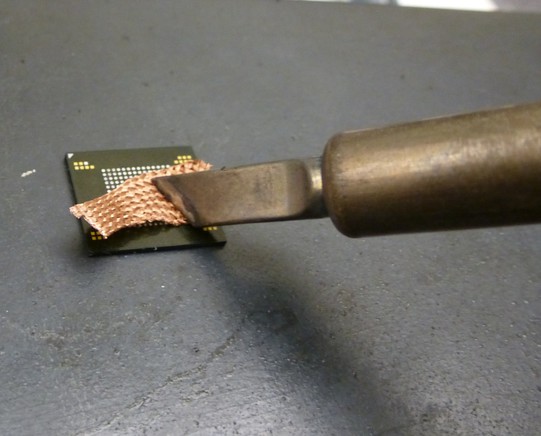
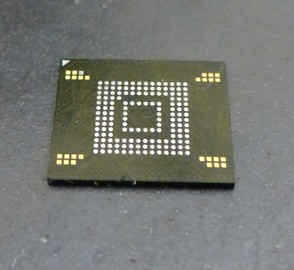
- The eMMC is now ready to read using the appropriate adapter/programmer and software.
At the time of this writing (2013OCT29) the eMMC that was removed in this example was read using an UP828 programmer via the "VBGA169E" adapter and using the "eNAND_H9DP4GG4JJACGR-4EM/459MB" device settings. The resulting image was then parsed via the CelleBrite Physical Analyzer (V. 3.8.5.108).